Create Google Cloud Storage Bucket
(Please tell me if you find any errors or omissions in the document —UP, 8-August-2024)
Create a new project
Redeem and use your Google coupon. Do NOT enter your credit card. (If you have not received an email with the link to redeem a coupon, please see CSI 508's Announcement "Database server (and web server) options, and Google Cloud Platform coupon"). If more coupons are needed, please make a private post on Piazza. We will get you more coupons. Do NOT enter your credit card information.
- Assuming that you already have a Google account. Go to the Google Cloud Console and login to your account
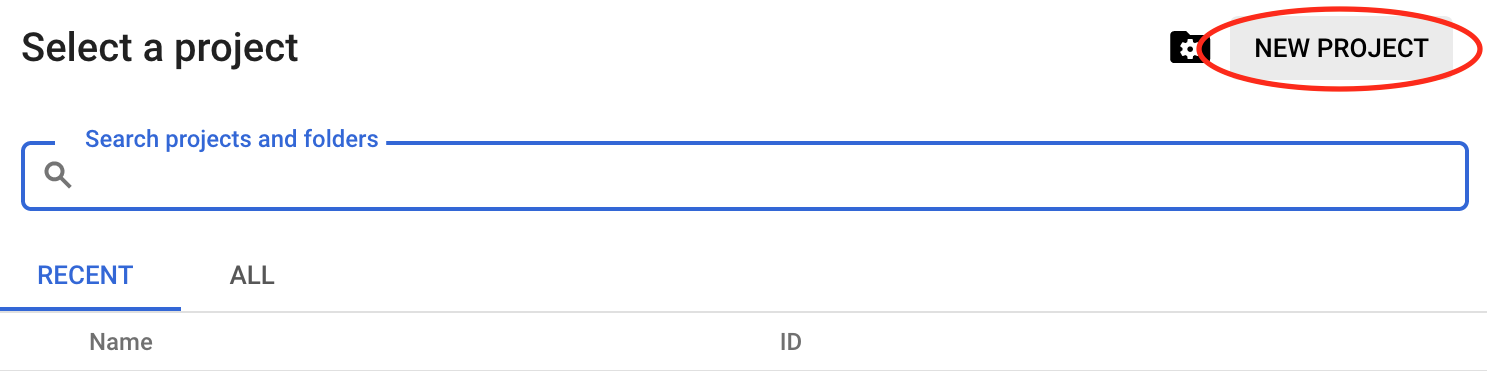
- Click the "Select a project" dropdown icon (next to "Google Cloud Platform")

- Select New Project
This will prompt a screen allowing you to create a new project. Enter your Project Name (e.g.,
csi508), be sure the Billing account is associated with the Google coupon you redeemed. Then, click CREATE.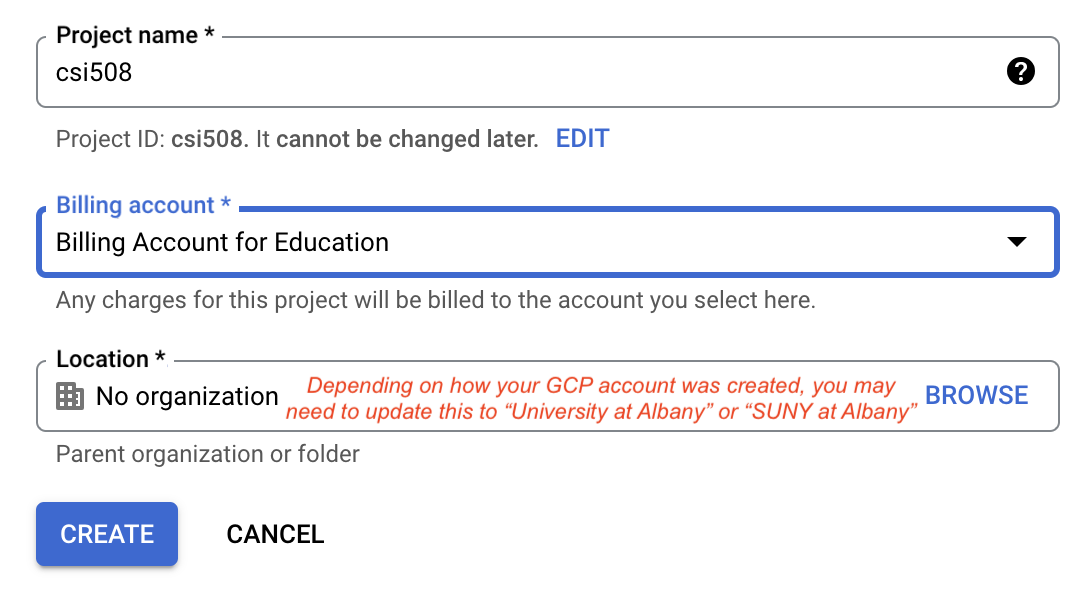
Note: depending on how your account was set, you may be required to enter Location or Organization. Please select University at Albany and proceed to create the project.
Create Google Cloud Storage Bucket
- Access the project you just created
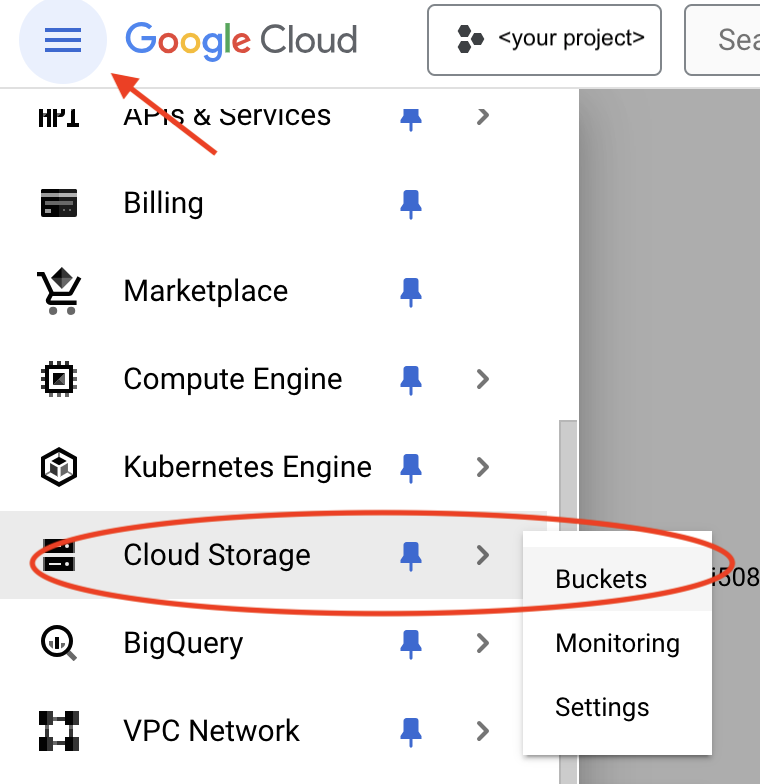
- Click the Navigation Menus (a "hamburger menu" icon, top left of the screen),
then select Cloud Storage > Buckets
-
If you have previously created buckets or deploy web apps, you will see a list of your existing buckets similar to the following screen. Click the CREATE option.

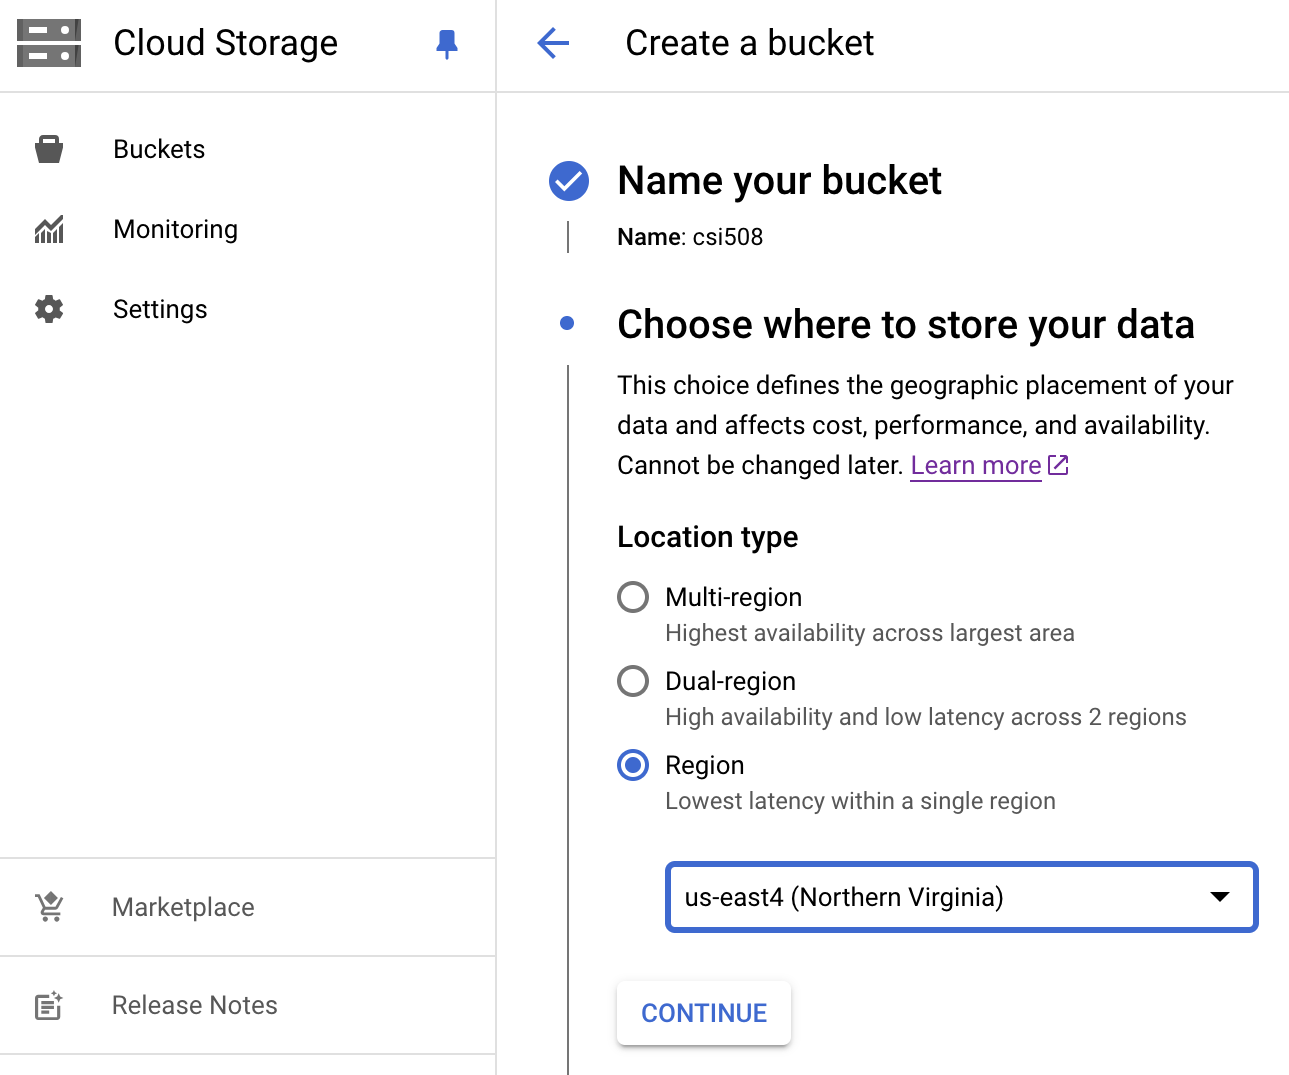
- On the Create a bucket screen,
enter your bucket's name (for example,
csi508). The bucket serves as your root folder; i.e., the main context directory of your web app / website. Click continue.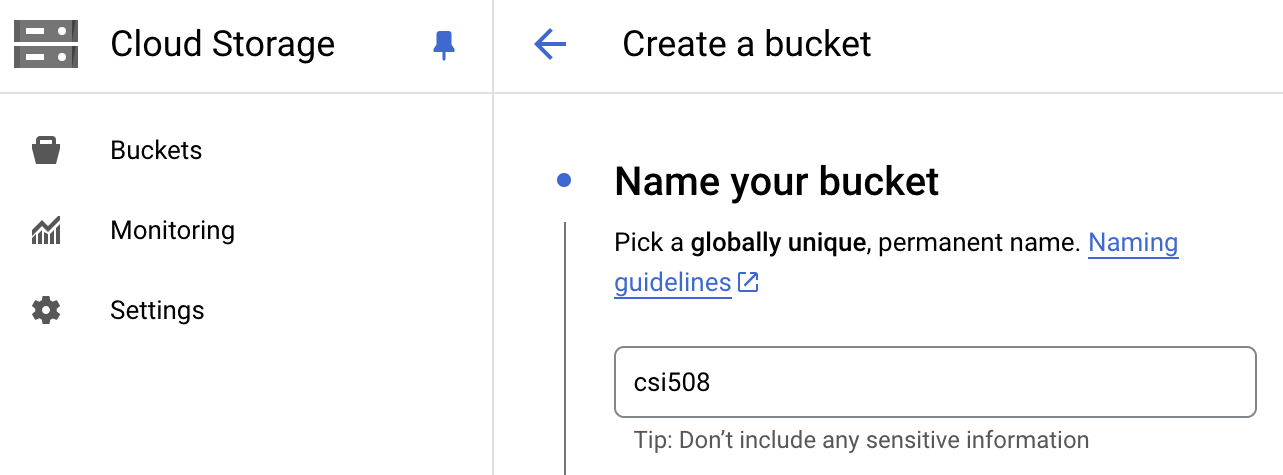
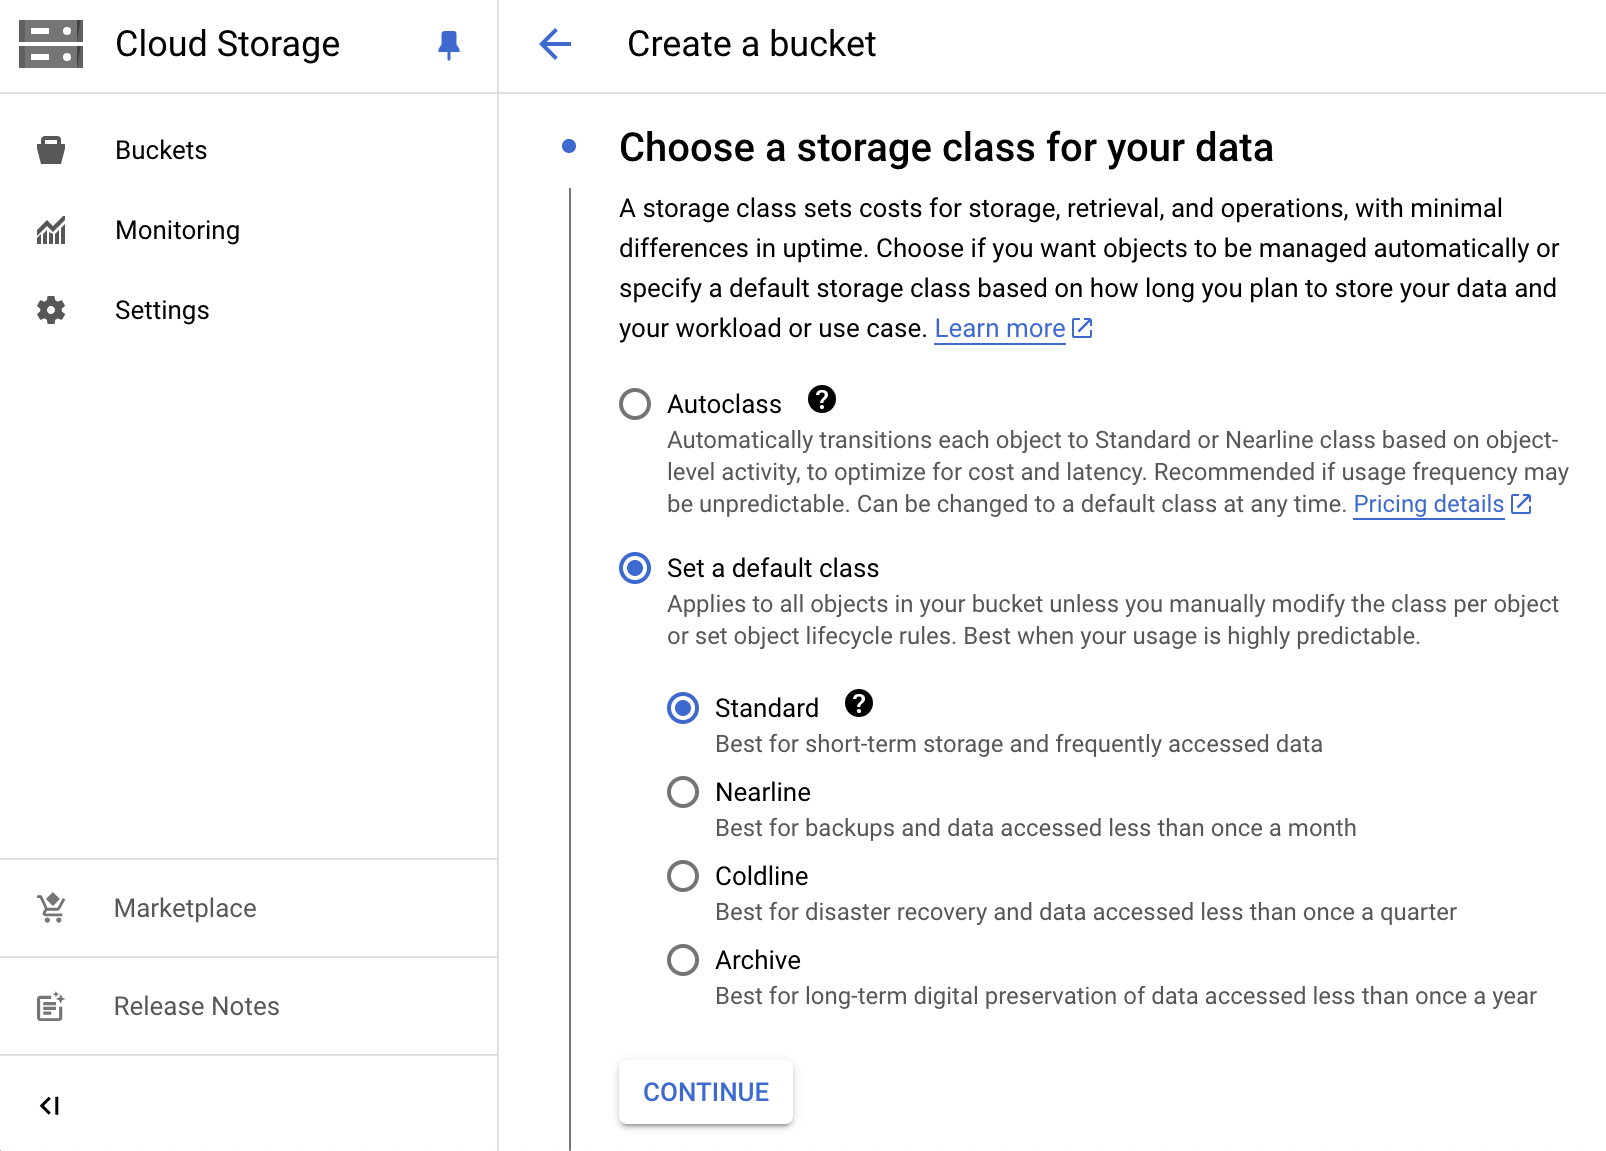
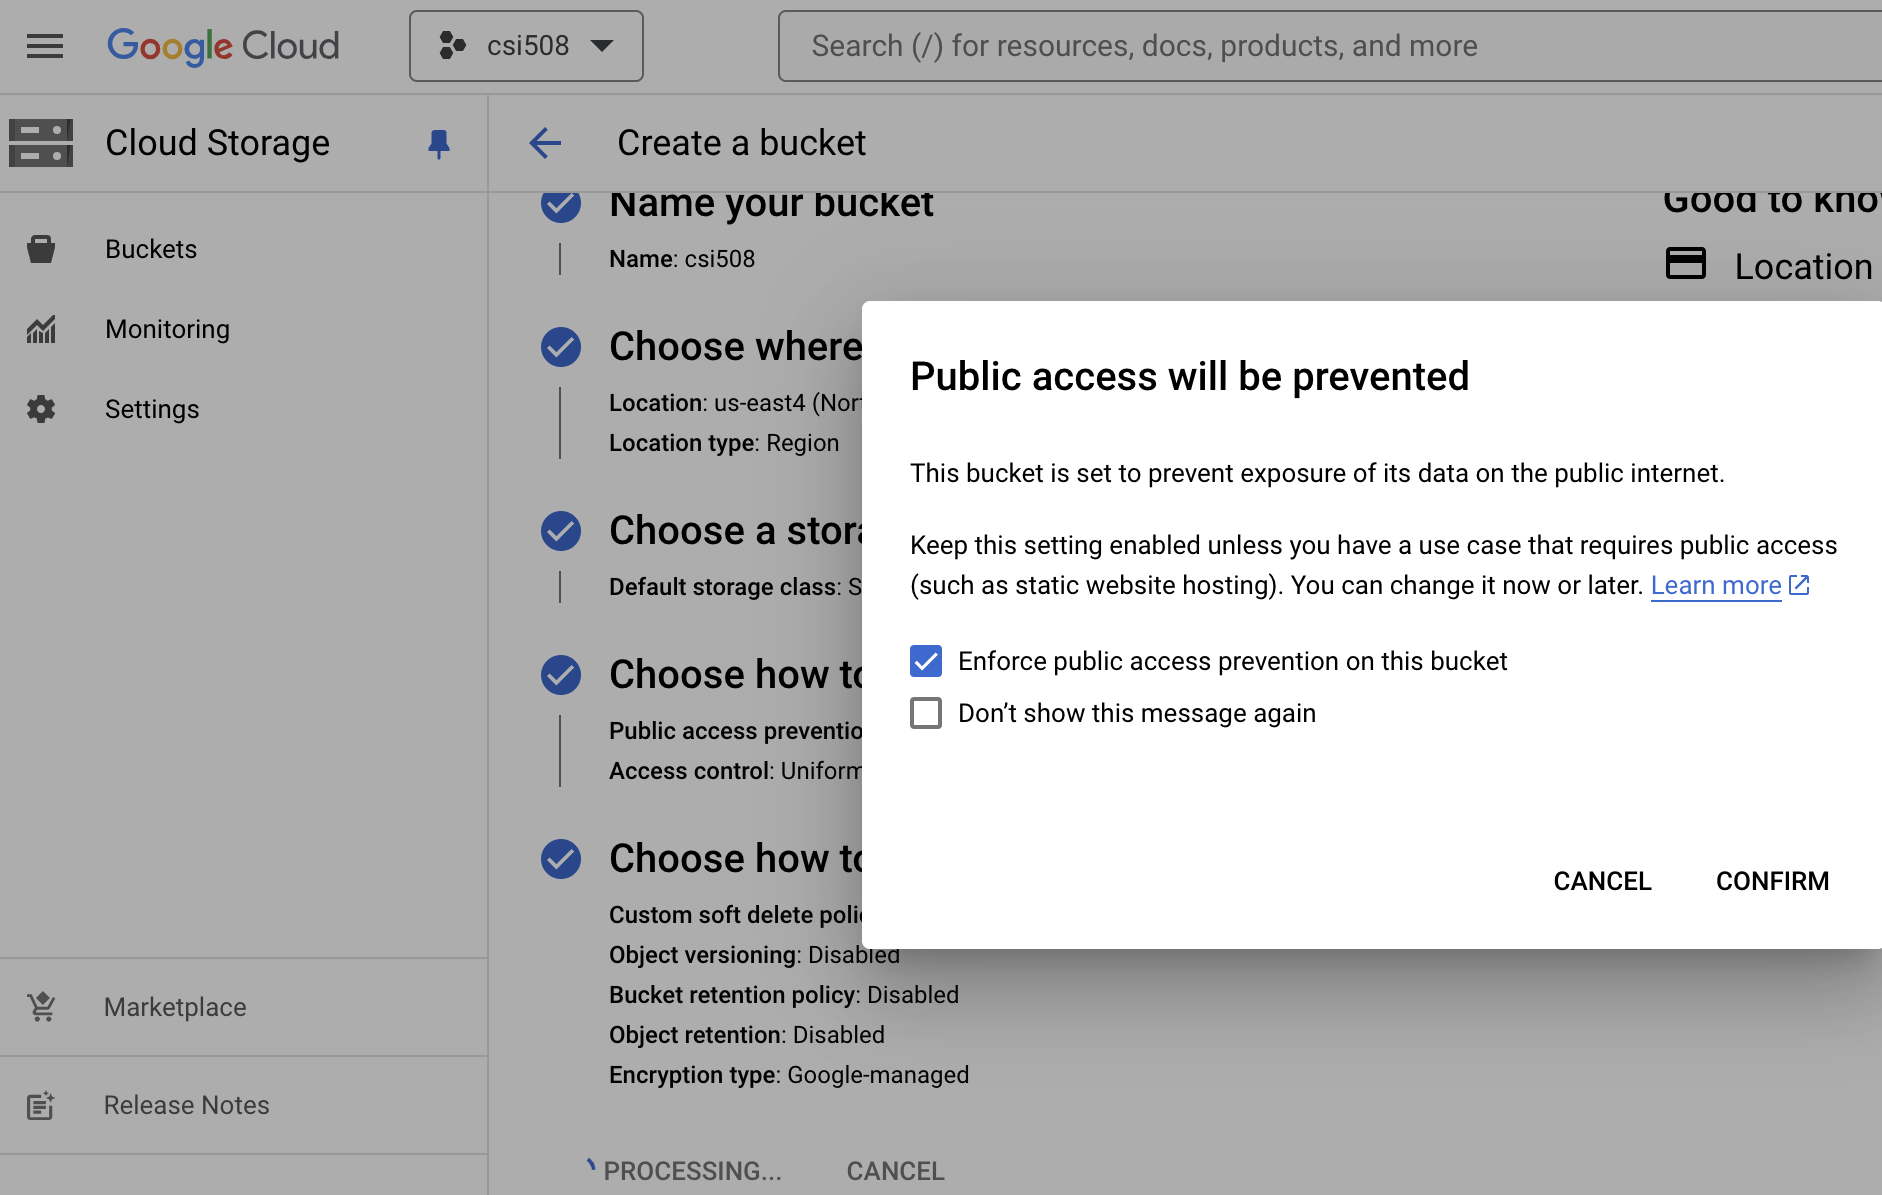
You may need to click Choose where to store your data to expand the option. Select Regional for Location type, and select us-east4 for Location. You may use default options for other settings. Then click the Create button
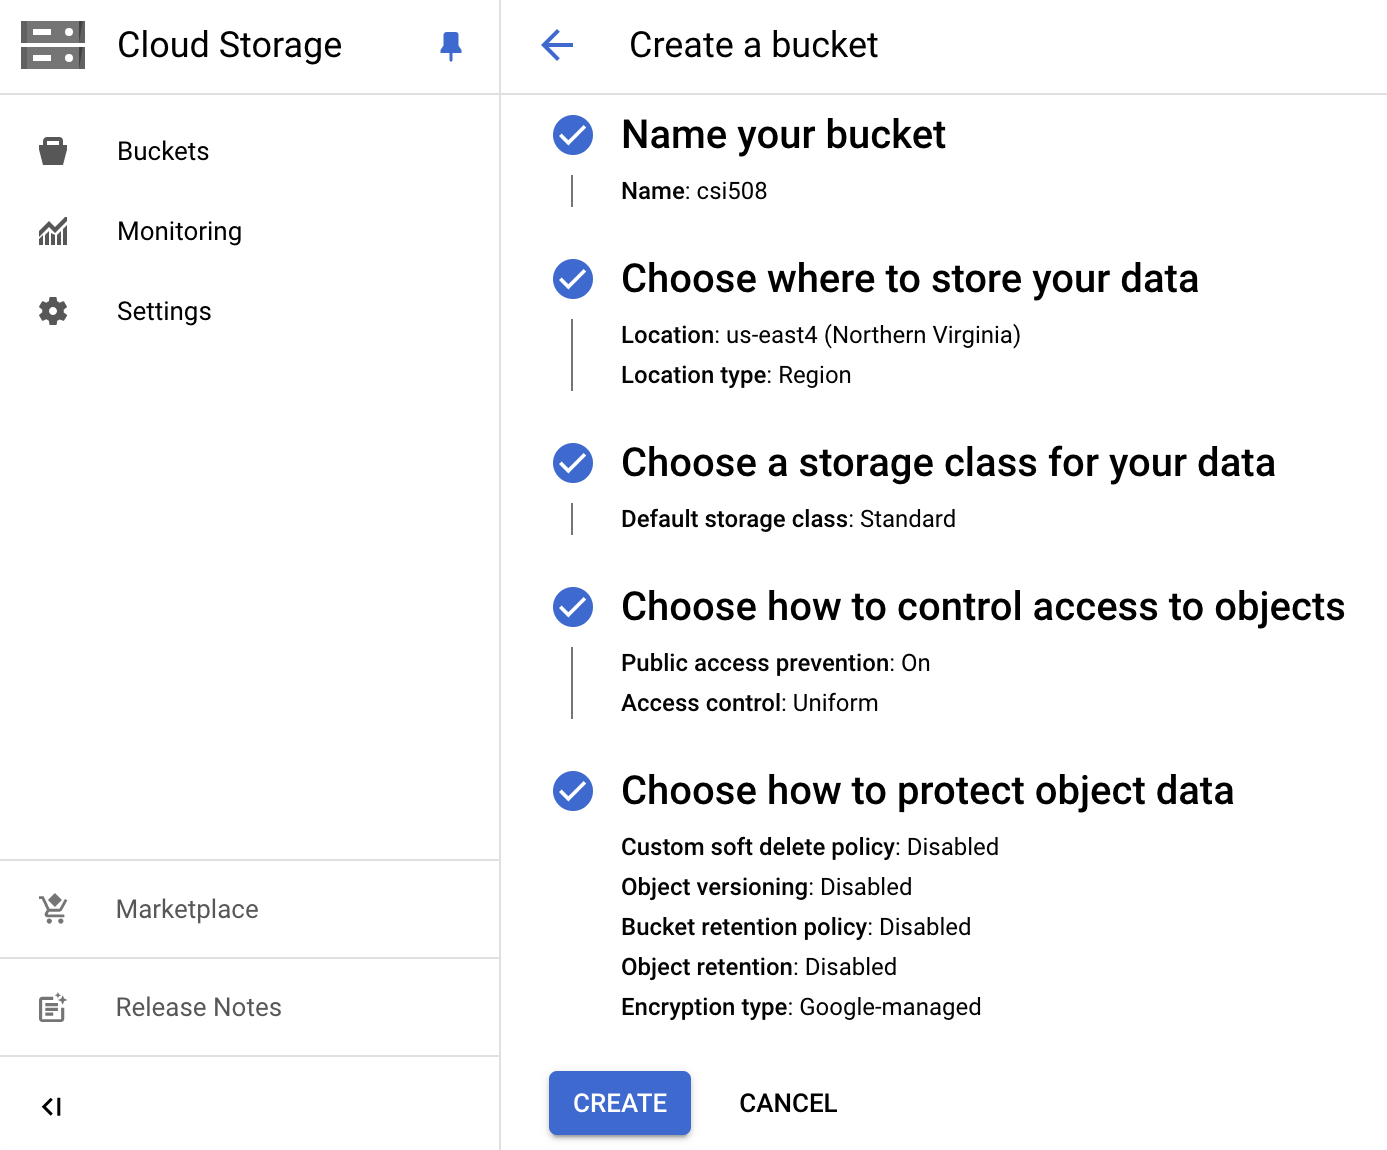
You may use default options for other settings. Then click the Create button
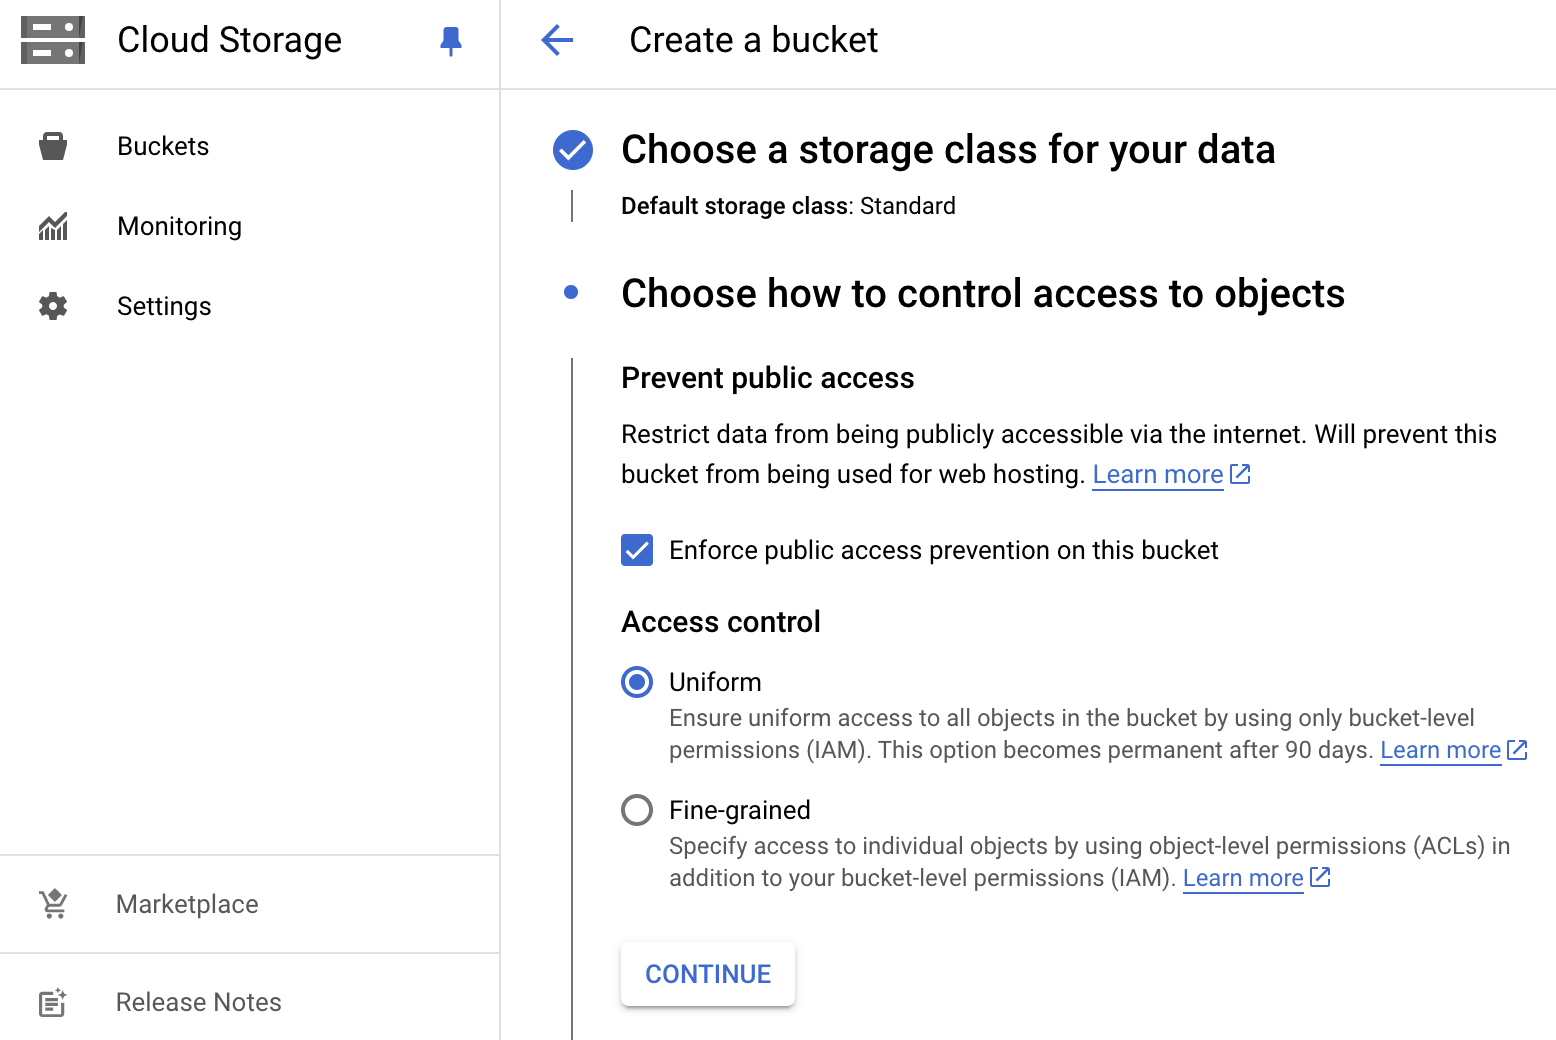
By default, GCP applies the public access prevention policy on buckets. You are recommended to enable the public access once your buckets (files and folders) are ready.
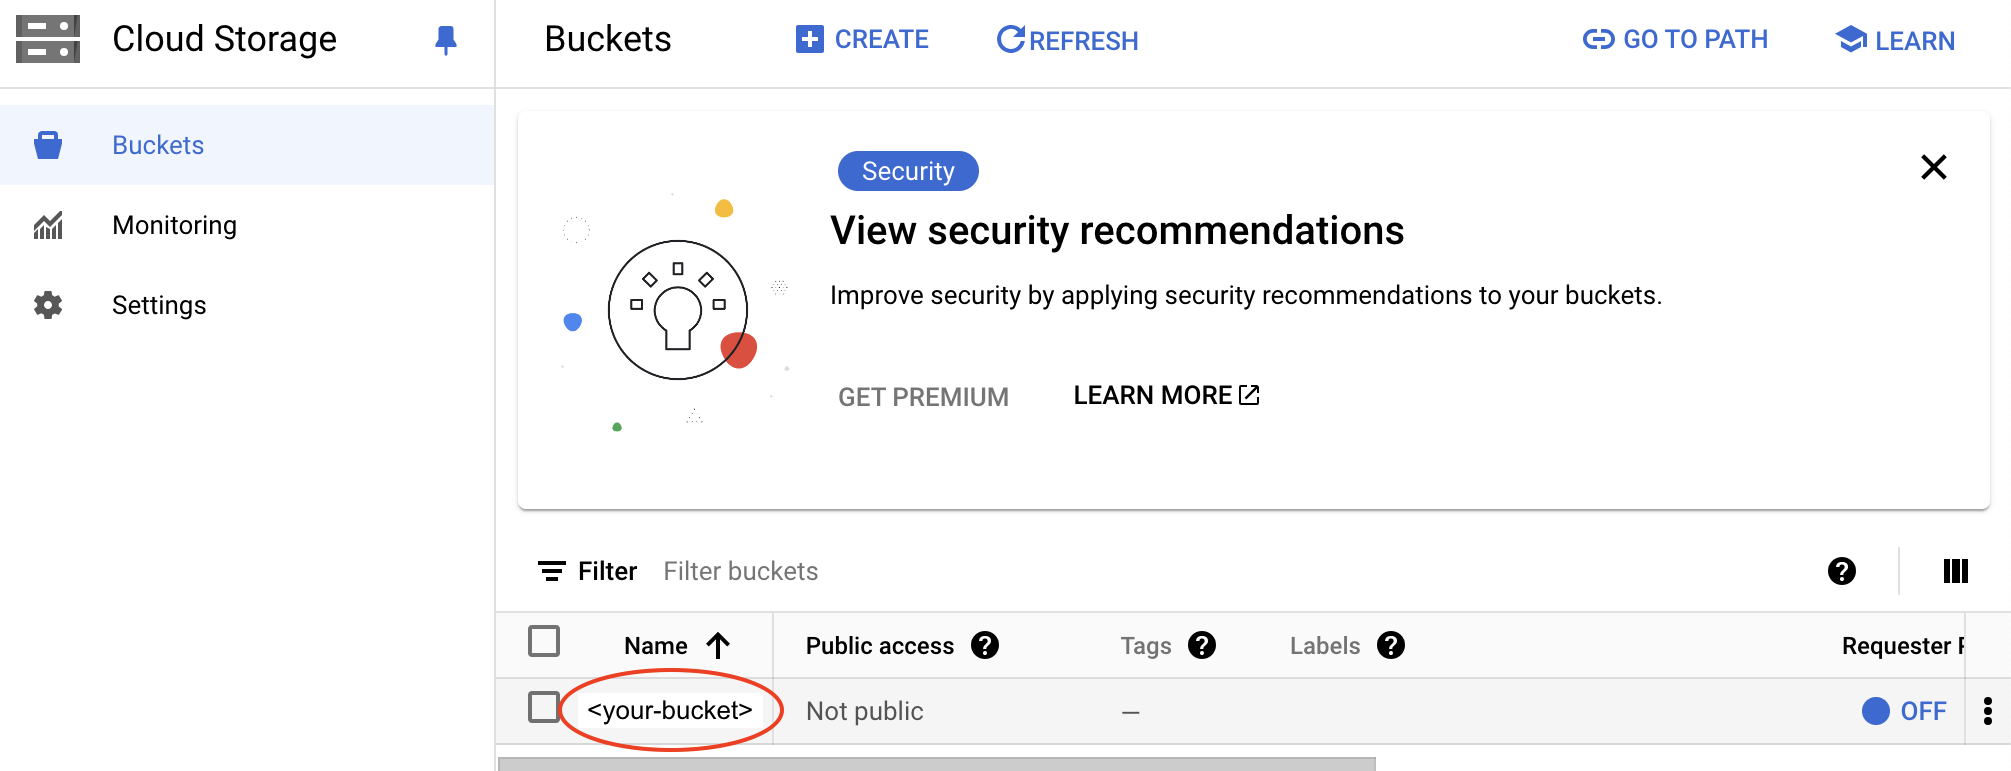
- You may access the bucket you just created from the Buckets screen
Upload files
- Go to the bucket you just created (click on the bucket name)
- Select the Upload Files option to upload your file(s)
or the Upload folder option to upload your folder(s).
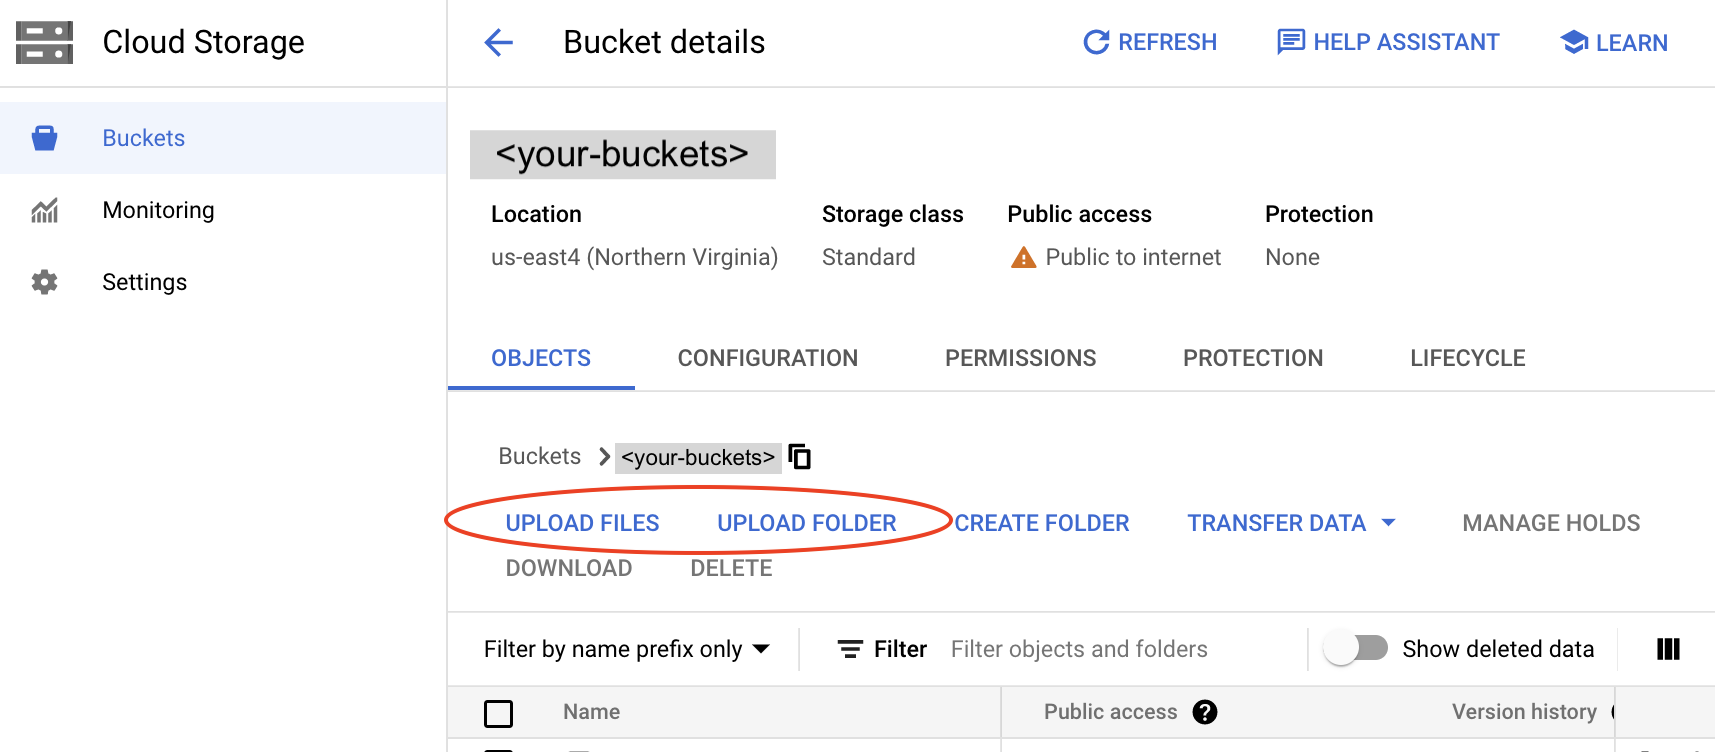
The folder structure should be consistent with how your web resources (html, css, js, images, media, data files) are organized.
Edit permission
To make your file(s) or page(s) publicly available, you need to set the bucket's permissions.
- On the Bucket details screen, select your bucket.
To Remove public acess prevention,
click Permissions or
click the "three-vertical dots" option on the right, and then select Edit access.
Do not export to cloud


Then, click Add Principal to grant Storage Object Viewer permission to AllUsers.


Your bucket is now publicly available.

If you want to grant access to any user, use the Add Principal option.
Test access
Assuming that your bucket has been made publicly available and you have uploaded some .html files.
On the Bucket details screen, locate your file, click a Copy URL link under Public access column.
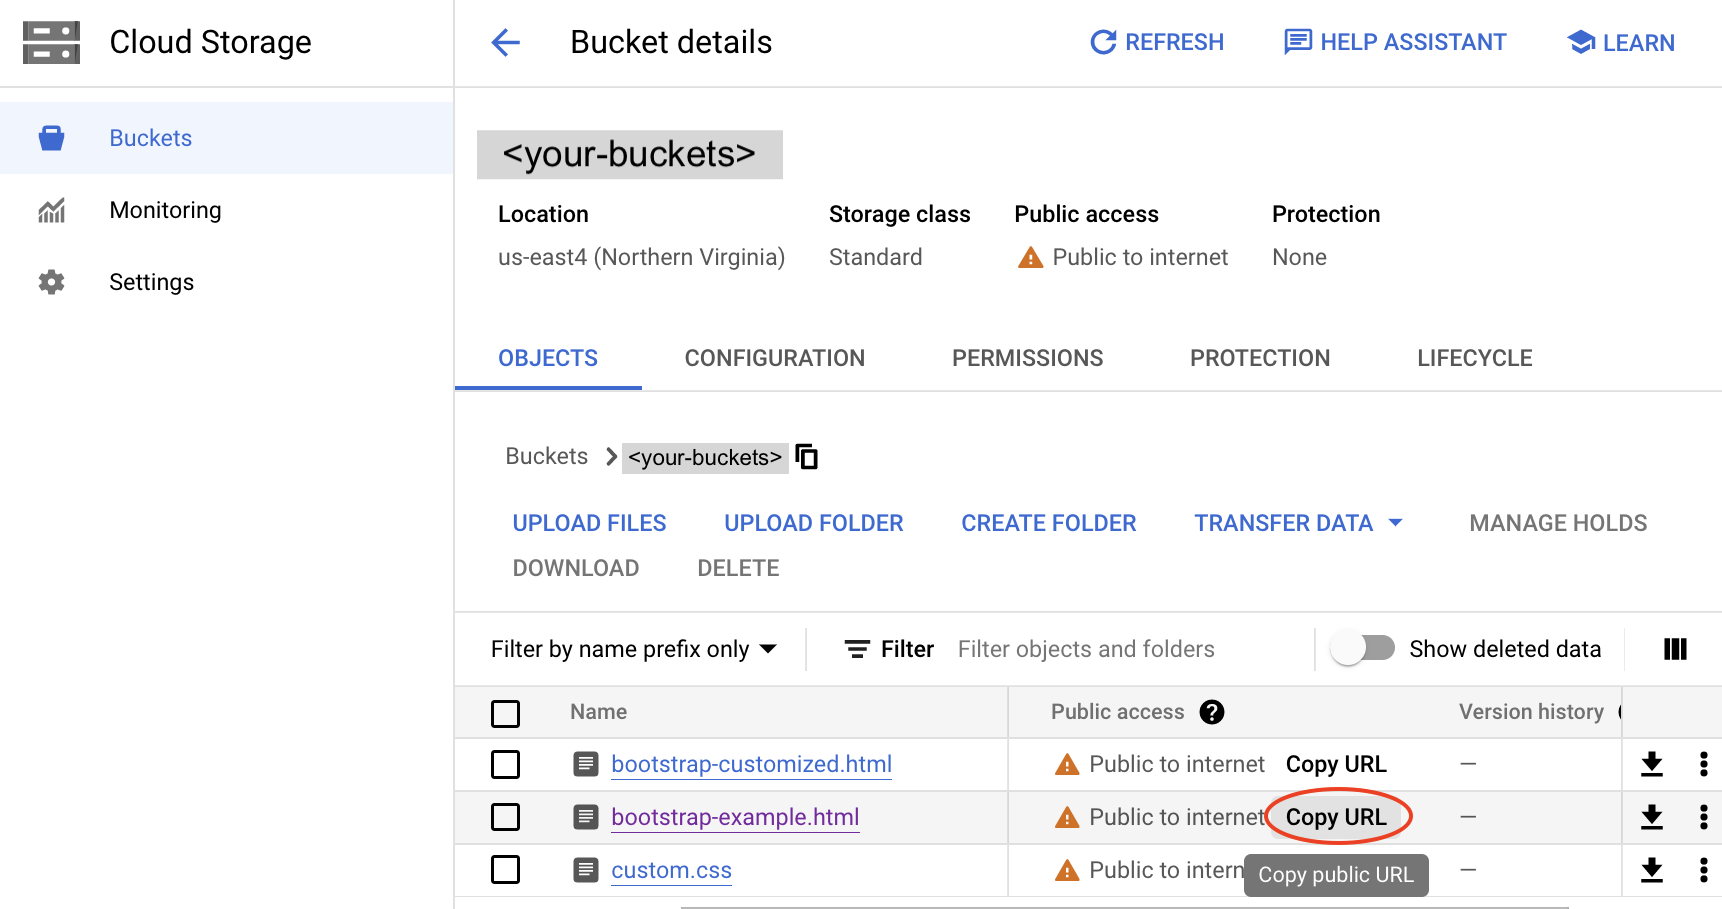
Alternatively,
you may access your file (in this example, .html ) via a web browser.
Your URL will be similar to
https://storage.googleapis.com/your-bucket-name/yourfile.html
(for example,
https://storage.googleapis.com/csi508-demo/bootstrap-example.html
Copyright © 2024 Upsorn Praphamontripong
Released under the
 CC-BY-NC-SA 4.0 license.