To reduce paper we know scissors or cutter knives. Cutting wood or bamboo we understand a great saw hand or maker (electrically). That's all the analog devices we can use to cut the material, but out of need a high precision. However if you work with producing a prototype that each part has to be cut with high accuracy, you can utilize a laser cutter device. You could also look into in Boss Laser for the top quality laser cutting solution.
Laser cutter maker serves to reduce (2 dimensional) material/materials that will you use in constructing or setting up a work/product. In the context of making a workshop, cutting is a very vital task because you require the components of your design to be cut in the way you want and also need with high precision. In the meantime, always remember to also look into the one in BOSS laser cutters for the finest laser reducing services with the affordable prices.
1. Preparing the Documents
Laser cutter equipment is a digital maker, for that you have to create a documents if you want to use/command this device to reduce. Like print devices (printer ink) in general, you have any messages or drawings that you want to publish instead?
Prepare vector files that you can do with any kind of vector editing software application, without any fill fields, and describes as thin as possible (eg 0.1). Since the summary is read as the component command to be reduced by laser cutter equipment.
If you intend to cut, draw the line (synopsis) without getting removed. If you intend to make fold lines (for containers, paper as well as similar), you could produce rushed lays out.

2. Export the documents
In order to read as well as commands could be done by pre-cut laser software, you need to export your files from the software you utilize. Export in.dxf (AutoCAD Interchange Data) expansion format, and also pick setups. Beware when you do this, so you will certainly have the ability to utilize the laser cutting machine without any trouble.
3. Pre-cutting preparation procedure (software application).
Pre-cutting or configuration before sending out the documents to the laser equipment for reducing/ functioning, utilizing software program called RDCAM. This application is additionally vector-based modifying, but with setting the command straight to the laser device, as an example to setup:.
- Power%.
- Speed%.
- Setting (reduced, check, pacifier).
- Cut mode for reducing command of material.
- Check mode for etching command (shed surface), calls for image layout file (. jpg,. bmp or.png with 300dpi resolution).
- Dot mode for reducing command with dotted line approach.
This phase is the most vital step due to the fact that it relies on just what product you want to service (cut, engrave or line break command). For instance to cut 3mm thick cardboard product is not necessarily the like 3mm acrylic material though with the exact same density. You should be watchful to recognize the personality of each product in the context of its density as well as appearance to get the maximum results you desire.
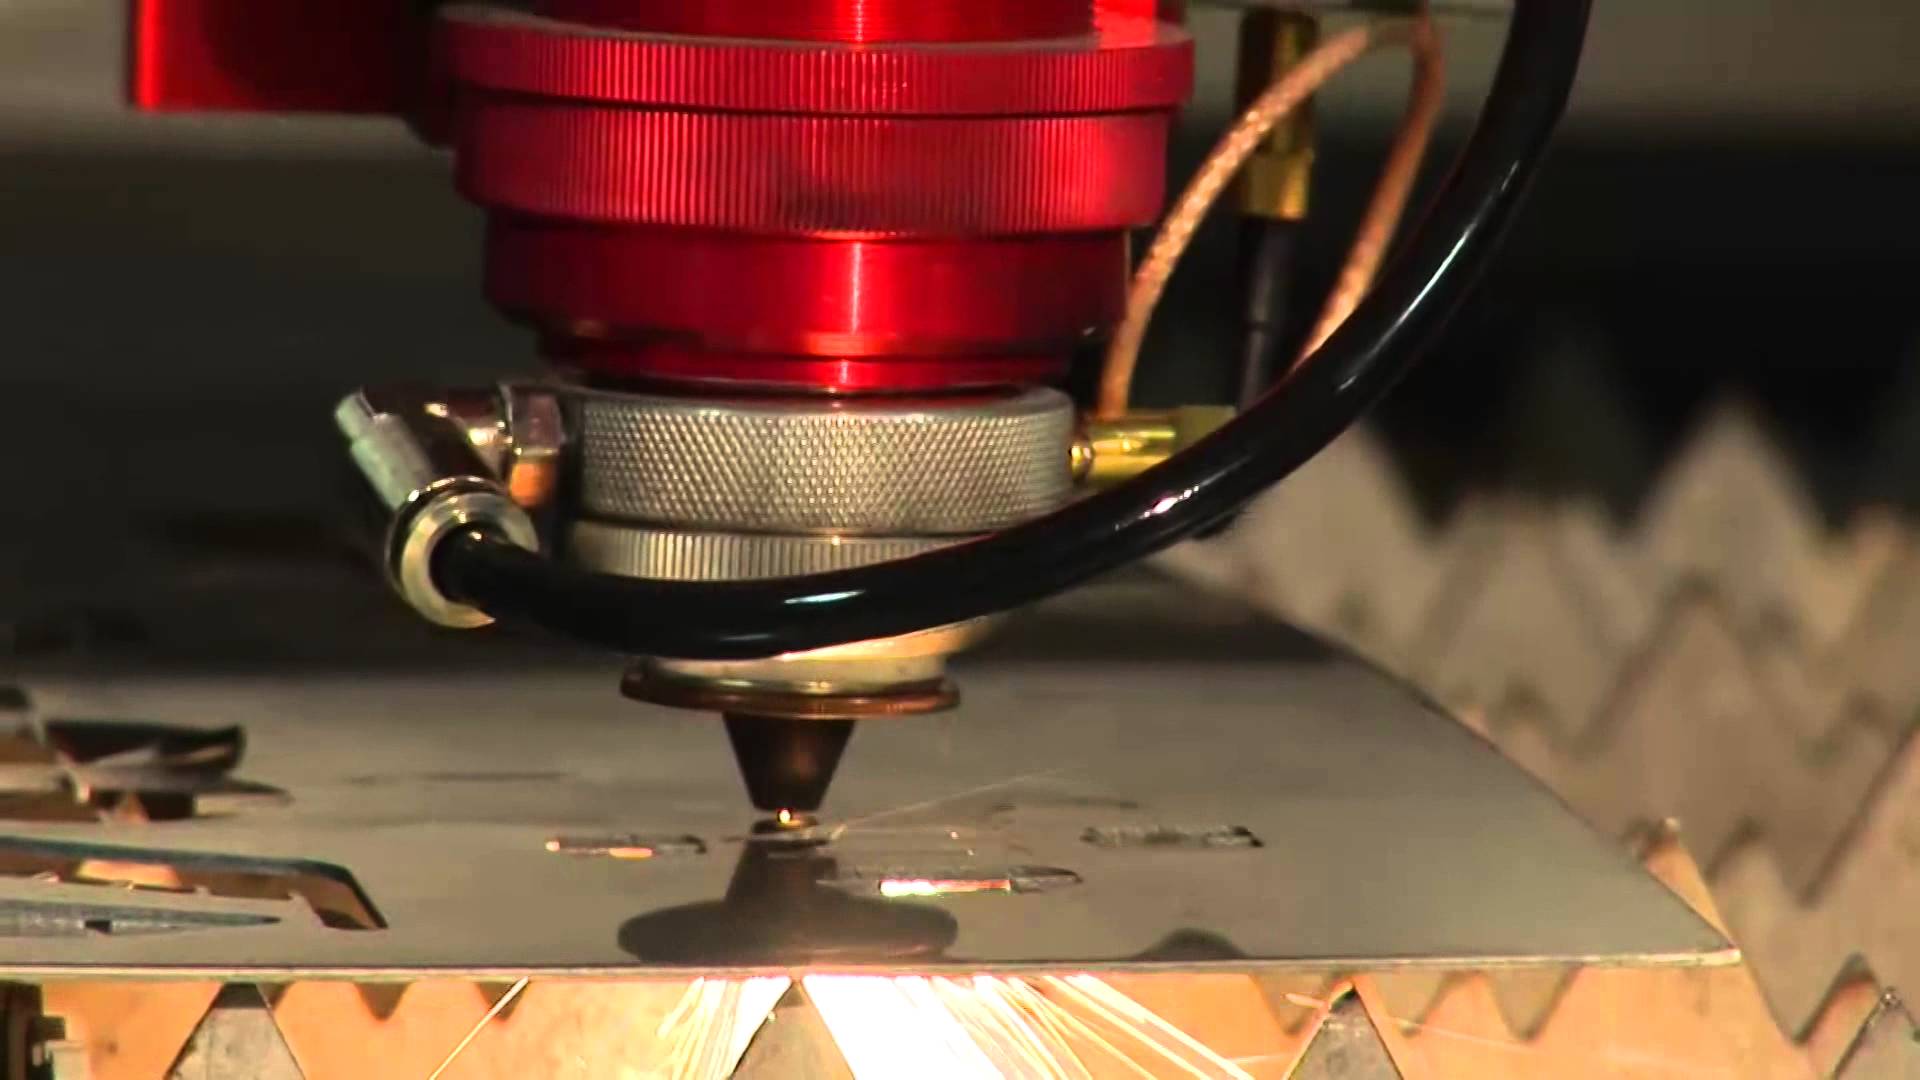
4. Pre-cutting preparation procedure (hardware & material).
After configuration on the software application really feels ready, now the process of preparing the maker (hardware as well as material). Turn on the laser equipment along with the reducing area lights. The engine will sound 3x beeps of calibration preparation till it quits at the point where the last laser head is used. Place the material to be reduced (eg acrylic 3mm) on the laser equipment work area and also make certain every edge of the surface should be degree. For paper, cardboard, natural leather or material that is not flat (slightly bent), can utilize covering up tape to hold the surface area angles to keep level.
Once the product is in the laser bed, relocation and route the laser head by using the control panel on the machine (up, down, right and also left arrow), after that begin laser head calibration with the product.
5. Laser head calibration of the Product.
After the laser head is positioned, place the emphasis calibrator between the laser head and the material, after that loosen the 2 screws that hold the laser head to the focus calibrator. Then tighten again 2 screws that had been loosened up. This is done so that the burning emphasis of the laser is in the most optimum and also precise placement.
6. Start!
If all the prep work are done, currently the laser equipment is ready to utilize to get commands from your documents. Prior to pushing the start button on the application, do not forget to turn on the warm vacuum cleaner blower to ensure that the smoke is sucked at the disposal and also does not make the laser room as well hot. (Be careful of fire risk if this treatment is refrained properly).
Contact Us :
Amy C. Nash
2209 Post Avenue
Winger, MN 56592
USA
Call Us : 218-938-6535
Website :
https://youtu.be/HcKmpIj6n1s
External link :
Boss Laser
BOSS laser cutters
laser cutting machine
boss laser cutter
boss laser engraver