
Planning Insulation Upgrades with Confidence Across Materials, Timing, and Long‑Term Care
First, scope the project by mapping building zones that lose energy fastest, such as roof decks, rim joists, and penetrations around mechanicals. Establish objectives that balance comfort, noise reduction, and moisture control. Identify whether you need a full retrofit or targeted improvements. Gather past renovation documents, HVAC specs, and any prior energy audit notes. This groundwork clarifies priorities, prevents rework, and frames discussions with insulation services teams about options and sequencing.
Next, assess material fit by comparing thermal performance, air sealing potential, and vapor behavior in your climate. Fibrous batts, blown-in fills, and spray-applied foams each deliver distinct benefits. Verify substrate conditions, including sheathing integrity and fastener patterns, so materials adhere and perform as intended. Ask about fire ratings and ignition barriers in mechanical rooms or garages. Matching material characteristics to assemblies reduces callbacks and helps preserve indoor air quality over time.
Meanwhile, validate moisture strategy before any install. Determine where the control layers sit—water, air, vapor, and thermal—and confirm they align. In cold regions, locate vapor retarders to limit interior moisture from reaching chilly surfaces. In mixed climates, favor robust air sealing and drying potential over aggressive vapor blocking. Document existing vents, bath fans, and attic baffles. Proper airflow pathways, combined with disciplined air sealing, buffer materials from seasonal humidity swings.
However, logistics often drive outcomes as much as specifications. Plan access routes, staging zones, and debris handling to minimize disruption. Protect finished surfaces and set containment for dust. Sequence trades so electrical and low-voltage work finish before cavities close. Verify power availability for equipment and safe ladders or lifts for high bays. Clear communication about daily start times and expected noise keeps occupants informed and prevents delays.
Beyond that, establish a realistic budget envelope tied to lifecycle value instead of only initial expense. Compare energy savings projections with maintenance requirements and expected service life. Validate incentives or rebates early, since paperwork and pre-inspections may be required. Price out add-alternates for air sealing at top plates, hatches, and chases, as these details yield outsized performance gains. A transparent cost model helps you phase scope without compromising essential outcomes.
In practice, quality hinges on surface prep and details at transitions. Inspect for gaps, voids, and thermal bridges at framing intersections. Calibrate depth markers when using blown materials to maintain uniform coverage. Seal penetrations with compatible products that accommodate movement. Around chimneys or recessed lights, follow clearance rules and install proper barriers. Then, document locations of hidden junction boxes and dampers so future service calls don’t damage insulation layers.
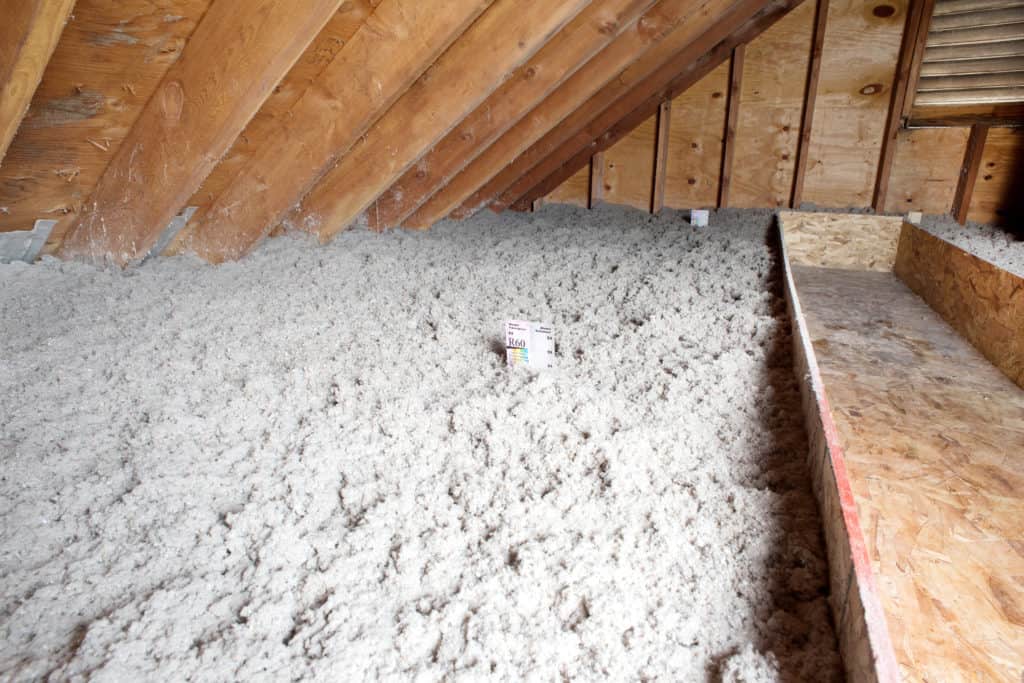
Often, attic ventilation and air sealing interact in subtle ways. Verify soffit intakes are open, baffles are placed, and ridge or roof vents are unobstructed. If converting to a conditioned roof deck, confirm that vents are closed and continuous air barriers align. Lean on experienced attic insulation contractors to evaluate tricky eave geometries, skylight wells, and knee walls. Getting these spaces right reduces hot spots, ice risk, and dust migration into living areas.
Then, address fire safety and code compliance early. Validate ignition barriers where foam is exposed, and check egress requirements in habitable attics or basements. Maintain clearances from flues and heat sources. Confirm that labels, data sheets, and product approvals remain accessible for inspectors. When plans change on site, update drawings and take progress photos. Proper documentation streamlines approvals and protects your warranty position.
Finally, plan for maintenance and future access. Mark hatch locations, create simple maps of insulated cavities, and store leftover materials for small repairs. Train occupants or staff on safe attic entry, and schedule periodic inspections after major weather events. If you anticipate electrical or network upgrades, leave dedicated chases to avoid disturbing insulation later. A thoughtful handoff reduces surprises and preserves performance through the building’s lifecycle.
Ultimately, success comes from aligning goals, materials, and execution. Define performance targets, phase work around occupant needs, and verify results with basic checks like infrared scans or blower door tests where practical. Engage insulation services providers that welcome questions and share field photos. With a clear plan, careful sequencing, and steady oversight, your project delivers comfort and efficiency without unnecessary complexity.