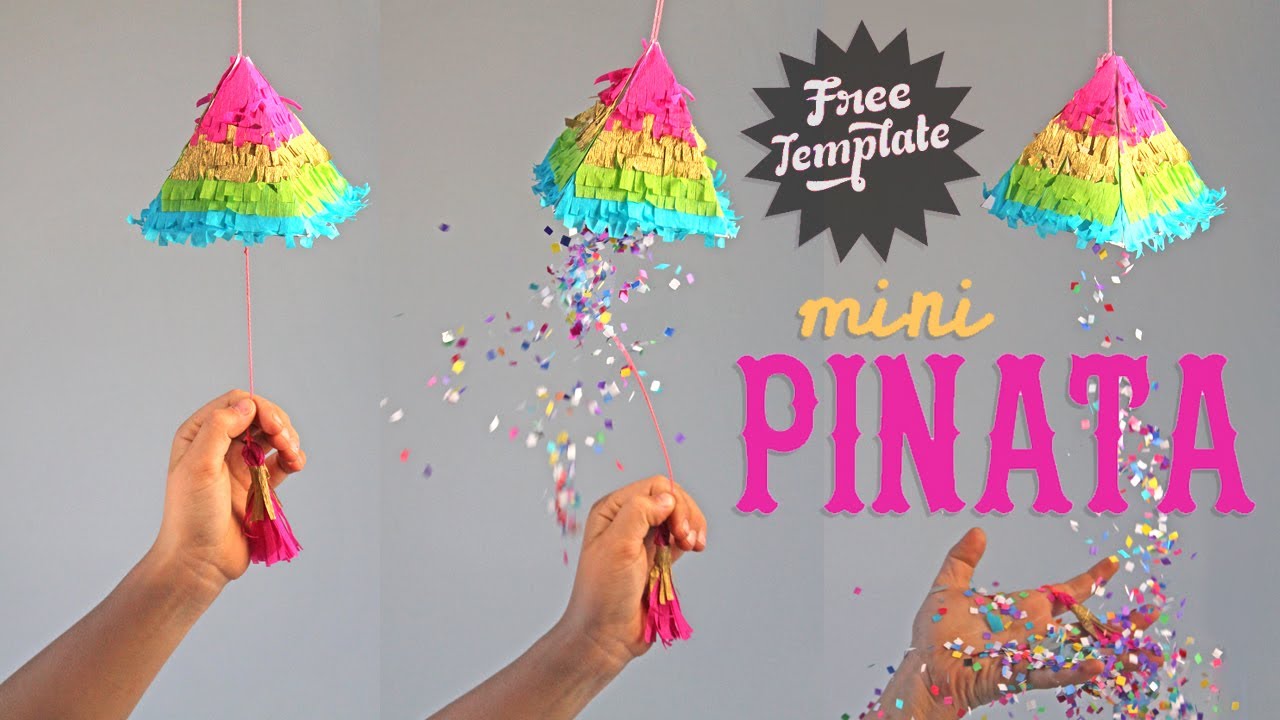
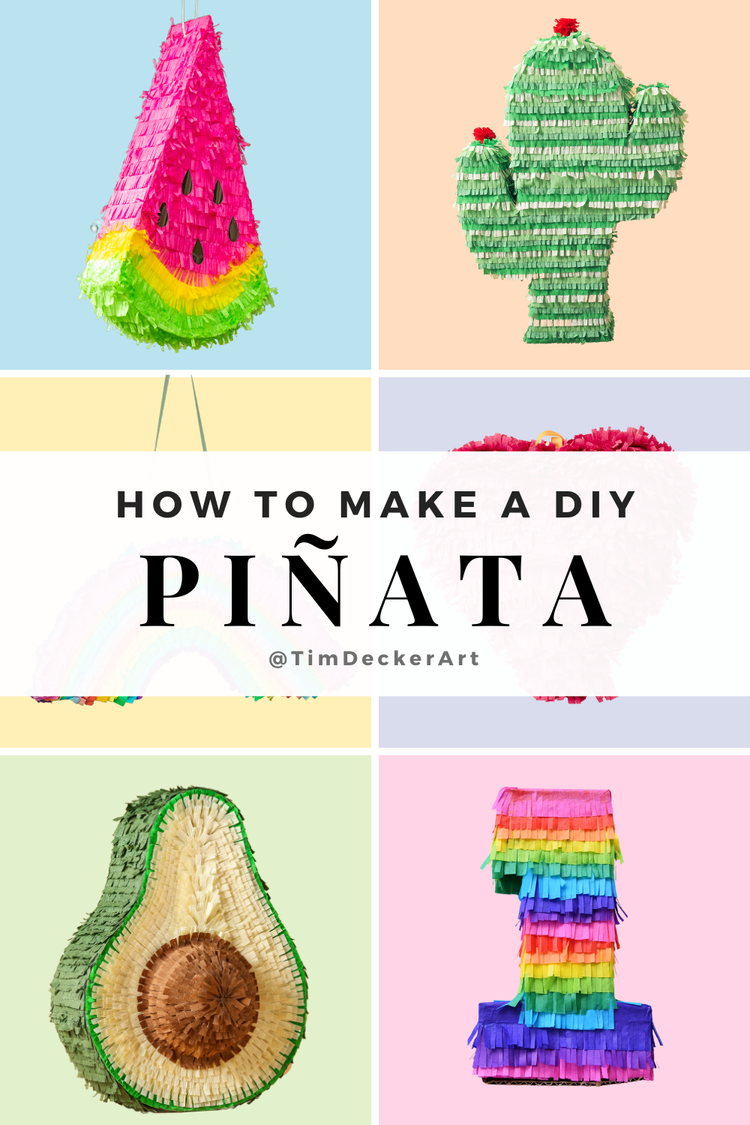
Creating a colorful piñata at home is a timeless tradition that brings joy to celebrations—whether for children’s parties or festive gatherings. This guide teaches you how to make a piñata using simple supplies and creative techniques.
How to Make a Classic Paper-Mache Piñata
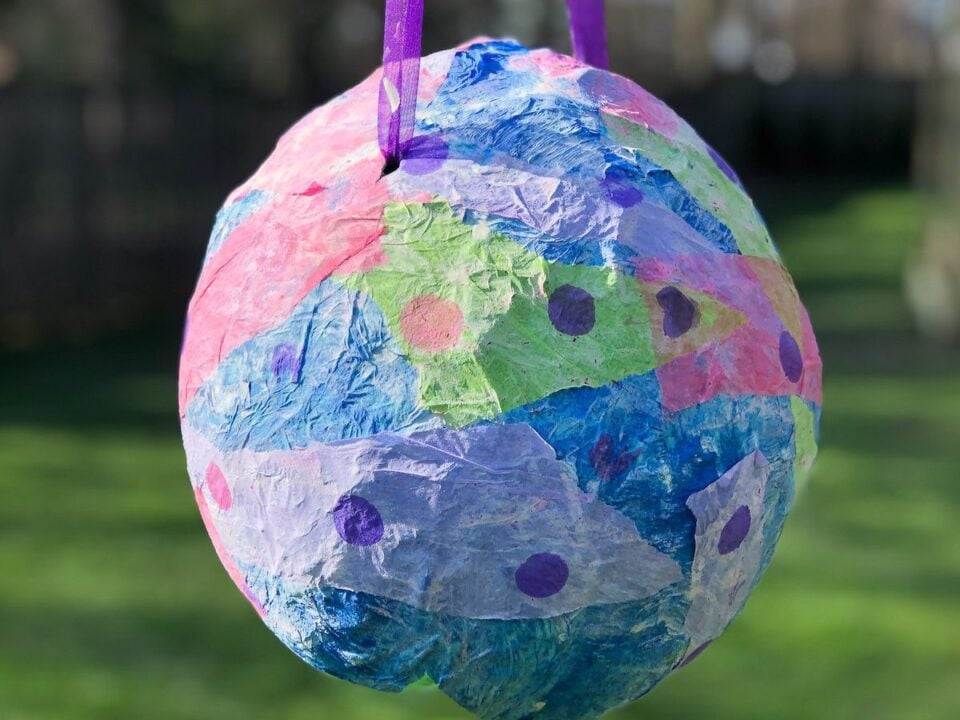
Start by gathering a balloon (size 12-14 inches), newspaper strips, white glue, and flour mixed with water for the paste. Inflate the balloon, then layer newspaper strips soaked in glue over it, allowing each layer to dry before adding the next. Once fully covered, let the papier-mâché dry completely—this builds strength for shaping. After drying, paint the piñata with vibrant colors using acrylics and let dry thoroughly. For added strength, reinforce seams with tape and add a handle from a wooden dowel or sturdy straw.

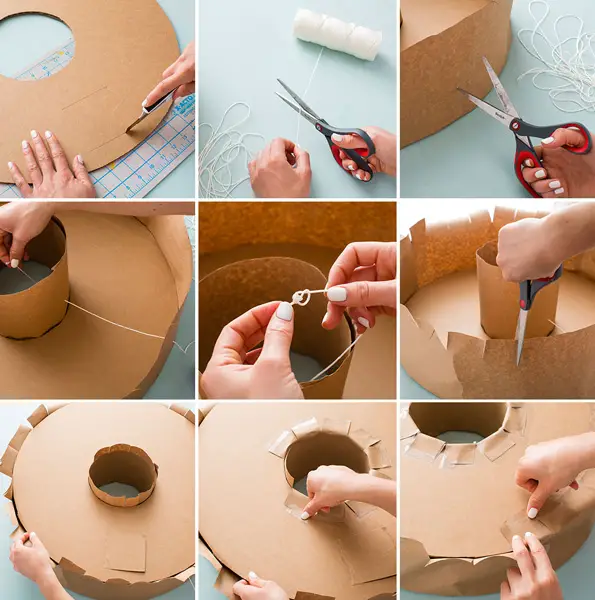
Alternative Cardboard Piñata Design
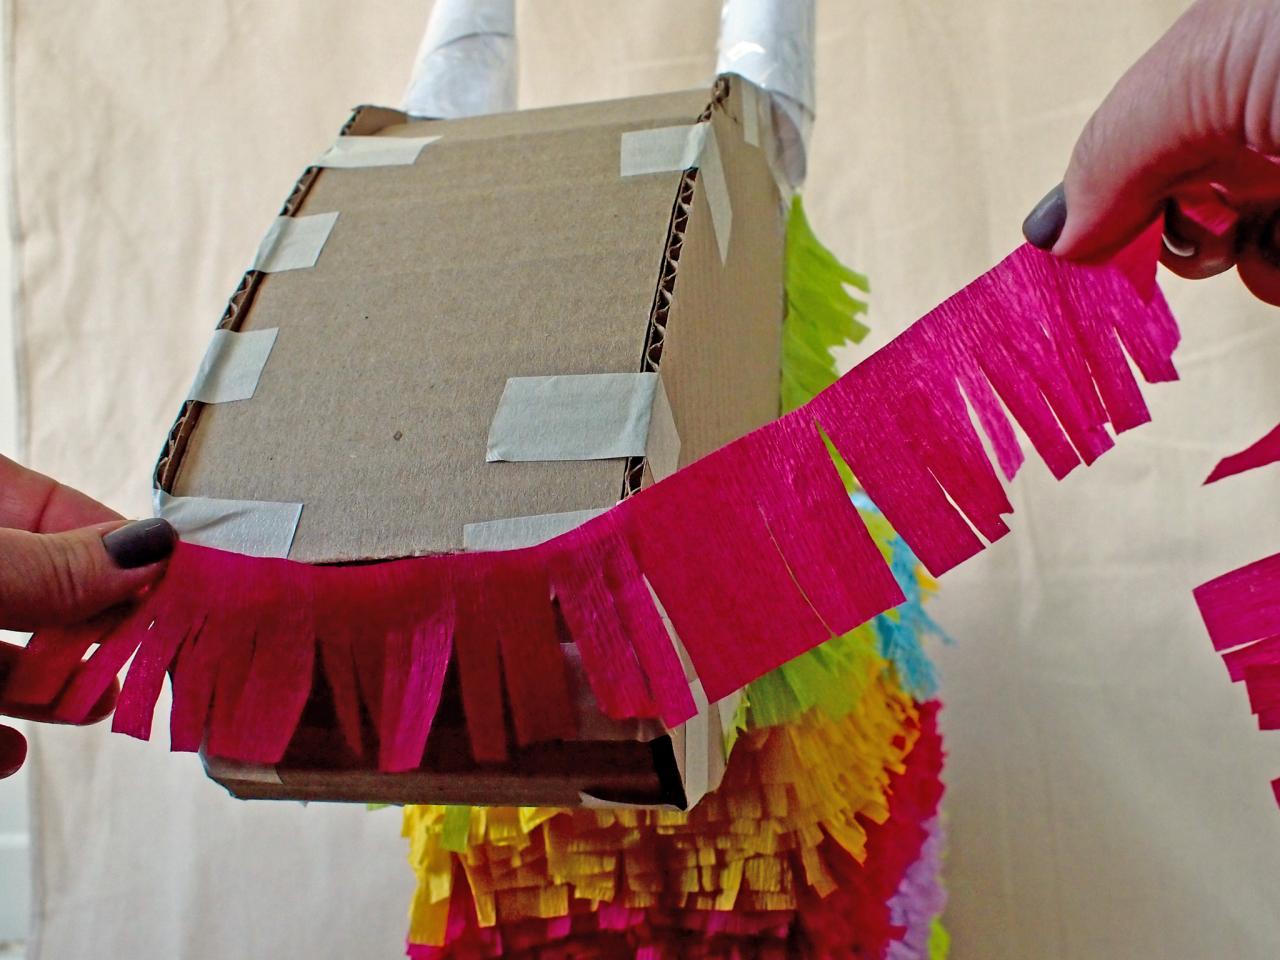
For a sturdier, reusable option, use thick cardboard cut into a cone shape with a central opening. Layer multiple cardboard sheets glued together for durability. Reinforce with duct tape along joints, then cover with decorative paper or fabric. Instead of papier-mâché, fill with lightweight materials like dried fruit or small toys for added surprise. Add handles made from rope or thick string for easy swinging.
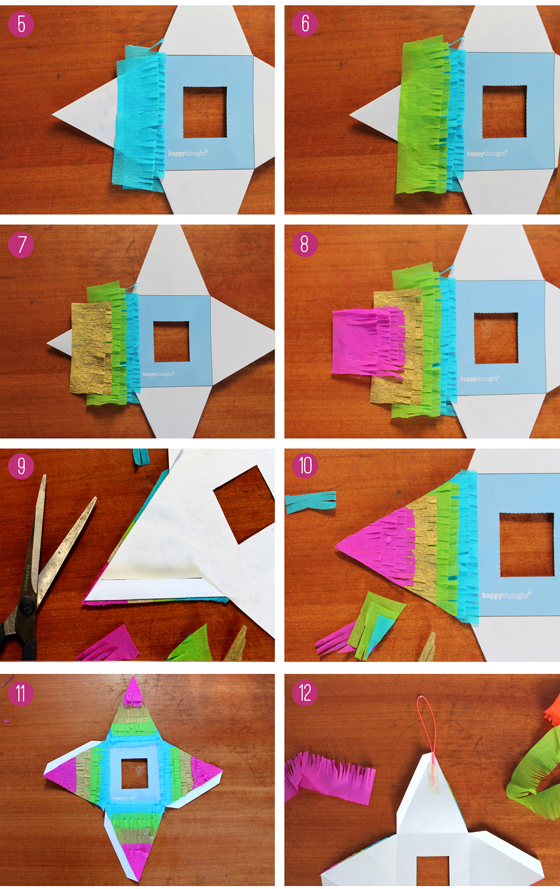
Step-by-Step Assembly and Finishing Touches
Once shaped, let the piñata cure for 24 hours to harden. Add a hanging cord securely tied to a central ring. Decorate with tassels, sequins, or painted symbols for a festive look. Always inspect for loose parts before use to ensure safety. Store in a dry place and handle with care during play.
Tips for Customization and Safety
Personalize with themed colors or cultural motifs for special events. Use non-toxic paints and child-safe materials. When setting up, secure the piñata in a stable area away from walls and obstacles. Supervise children during use and encourage teamwork to make it a memorable experience.
Conclusion: Craft Memories with a Homemade Piñata
Making a piñata is more than a craft—it’s about creating joy and lasting memories. With these simple steps, you’ll build a colorful centerpiece that sparks laughter and celebration. Gather your materials today and bring tradition to life in your home.