
Red Velour Cake with Fluffy Whipped Cream Topping Dish
Introduction
Ah, the appeal of a perfectly baked Red Velour Cake! It's not simply a cake; it's an experience that entices the senses. With its rich, creamy texture and striking red hue, this cake has ended up being a timeless classic in the world of desserts. But what makes it even better? A fluffy whipped cream topping that dances on your palate like clouds on a sunny day! Today, we're setting out on an adventurous baking journey to develop this wonderful confection that will leave your family and friends asking for seconds. So, get your apron and let's dive into the deliciousness of the Red Velvet Cake with Fluffy Whipped Cream Topping Recipe!
What is Red Velvet Cake?
The History of Red Velvet Cake
Red Velour Cake boasts a storied past, believed to have actually originated in the early 20th century. The cake was initially understood for its subtle chocolate taste and lively red color, which originates from utilizing cocoa powder and vinegar. It got enormous popularity throughout the Great Anxiety when people were looking for decadence on a budget.

Why Pick Red Velvet?
So why is everybody so enamored with Red Velour? Is it almost looks, or does it provide on taste too? The response is both! The cake has a distinct mix of tastes-- cocoa richness coupled with buttermilk's tanginess produces an unforgettable mix. Plus, let's be truthful-- who does not love enjoying something so visually stunning?
Ingredients for Red Velour Cake
Essential Active ingredients List
To craft the perfect Red Velour Cake with Fluffy Whipped Cream Topping, you'll need:
- 2 1/2 cups versatile flour
- 1 1/2 cups granulated sugar
- 1 cup veggie oil
- 1 cup buttermilk (room temperature)
- 3 large eggs (space temperature level)
- 2 tablespoons cocoa powder
- 1 teaspoon vanilla extract
- 1 teaspoon baking soda
- 1 teaspoon white vinegar
- A pinch of salt
- Red food coloring
Whipped Cream Topping Ingredients
For that fluffy whipped cream topping, collect these ingredients:
- 2 cups heavy whipping cream (cold)
- 1/2 cup powdered sugar
- 1 teaspoon vanilla extract
Instructions to Make Red Velour Cake
Step-by-Step Guide
Step 1: Preheat Your Oven
Before anything else, set your oven to preheat at 350 ° F(175 ° C). Trust us; you don't wish to put your batter into a cold oven!
Step 2: Prepare Your Baking Pans
Grease and flour two round cake pans (9 inches each) to prevent any sticky situations later on on.
Step 3: Mix Dry Ingredients
In a bowl, blend together flour, cocoa powder, and salt until well integrated. This step guarantees even distribution.
Step 4: Combine Wet Ingredients
In another large blending bowl, combine vegetable oil and granulated sugar. Beat them together up until light and fluffy-- about two minutes should do the trick!
Step 5: Add Eggs & Buttermilk
Now include eggs one at a time, ensuring each is well blended before including the next. Pour in buttermilk and vanilla extract; mix until combined.
Step 6: Color Your Batter
Here comes whipped cream the enjoyable part! Add red food coloring up until you accomplish that luscious shade. Keep in mind to keep mixing up until consistently colored.

Step 7: Integrate Everything Together
Slowly incorporate your dry mix into the damp components utilizing a spatula or wood spoon. Beware not to overmix; just combine until you see no dry flour.
Step 8: Trigger Baking Soda & Vinegar
In a small bowl, mix baking soda with vinegar (it'll fizz!). Quickly fold this mix into your batter for additional fluffiness.
Step 9: Bake Your Cakes!
Pour equivalent amounts into each prepared pan and bake for about 25-- thirty minutes or up until a toothpick inserted into the center comes out clean.
Step 10: Cool Down Time
Let your cakes cool in their pans for about 10 minutes before transferring them onto wire racks to cool completely.
Making Fluffy Whipped Cream Topping
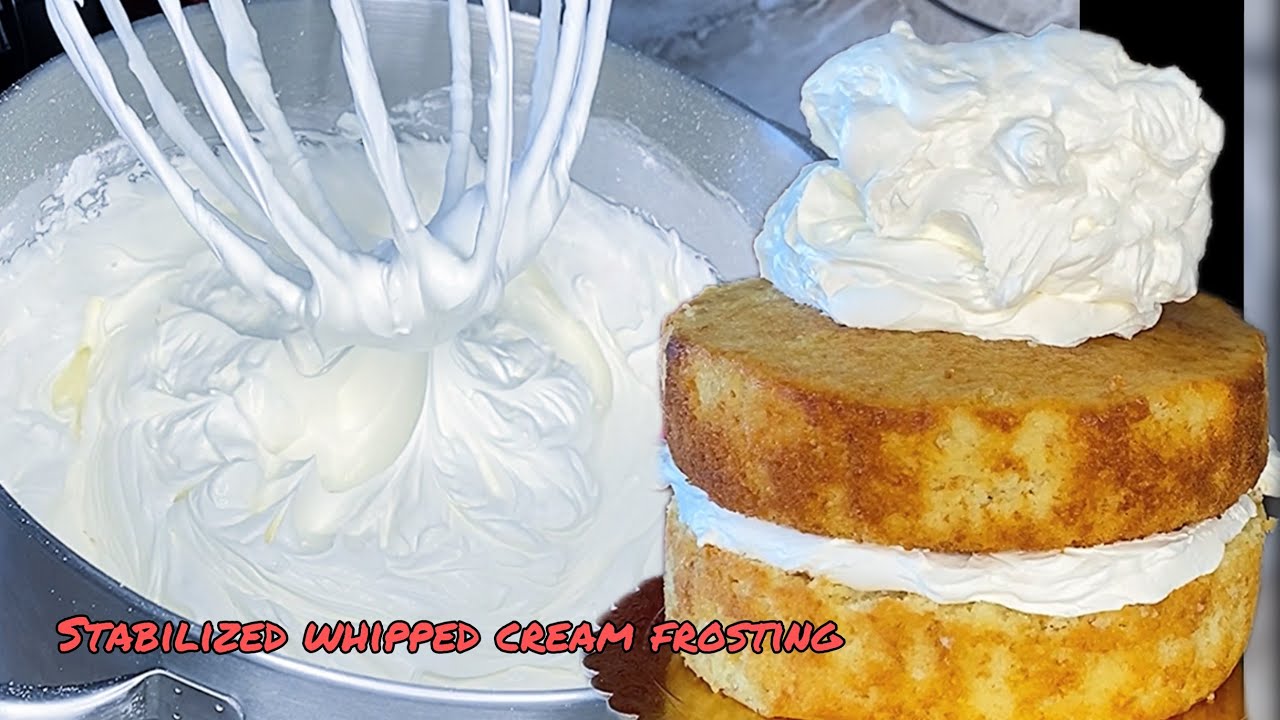
How to Achieve Perfect Whipped Cream?
Here's where magic takes place! In a chilled mixing bowl, pour in heavy whipping cream in addition to powdered sugar and vanilla extract. Start blending on low speed till soft peaks form; then turn up the speed until stiff peaks are accomplished.
Tips for Best Results
Layering Your Red Velour Cake with Whipped Cream Topping
Assemble Like A Pro!
Once your cakes are completely cooled off:
Decorative Touches You Can Try Out!
You can improve visual appeal by adding chocolate shavings or fresh berries on top!
Nutritional Truths About Red Velour Cake
|Nutrient|Quantity per Slice|| -------------------|------------------|| Calories|~ 350|| Total Fat|~ 18g|| Saturated Fat|~ 10g|| Carbohydrates|~ 45g|| Sugars|~ 25g|| Protein|~ 4g|
Note that dietary worths may differ based on specific active ingredients used.
Uses of Red Velour Cake
Red velvet cake isn't simply for birthdays! Here are some celebrations where this delightful treat shines:
FAQs About Red Velvet Cake with Fluffy Whipped Cream Topping Recipe
Q1: Can I use routine milk rather of buttermilk?
Yes! If you do not have buttermilk helpful, you can substitute it by including one tablespoon of lemon juice or vinegar to one cup of milk-- let it sit for about 5 minutes before using.
Q2: How can I keep remaining cake?
Wrap slices securely in plastic wrap or location them in an airtight container to keep them fresh for approximately three days at space temperature or up to one week if refrigerated.
Q3: Is it possible to make this recipe gluten-free?
Absolutely! You can switch out all-purpose flour for gluten-free flour blends offered at many grocery stores.
Q4: Why does my cake end up too dense?
Overmixing can result in dense cakes by activating gluten excessive-- be mild when combining wet and dry ingredients!
Q5: Can I freeze my Red Velour Cake?
Sure thing! Wrap individual slices tightly in cling wrap followed by foil before placing them in freezer bags-- they can last as much as three months frozen!
Q6: How do I make my whipped cream sweeter?
Simply adjust powdered sugar according to your preference when whipping-- the more sugar added will yield sweeter results!
Conclusion
Baking a delicious Red Velour Cake with Fluffy Whipped Cream Topping is not almost following guidelines; it's about producing something genuinely magical that brings joy around every table it enhances. With its rich flavor profile paired perfectly with creamy topping goodness-- it's no surprise this dessert has actually stood the test of time as an all-time favorite amongst numerous dessert enthusiasts alike!
So why wait? Collect those active ingredients today and start this delicious journey where every bite feels like pure happiness wrapped up beautifully within layers of creamy goodness completed with dignity by cloud-like whips-- oh boy-- you will not regret it! Pleased baking!