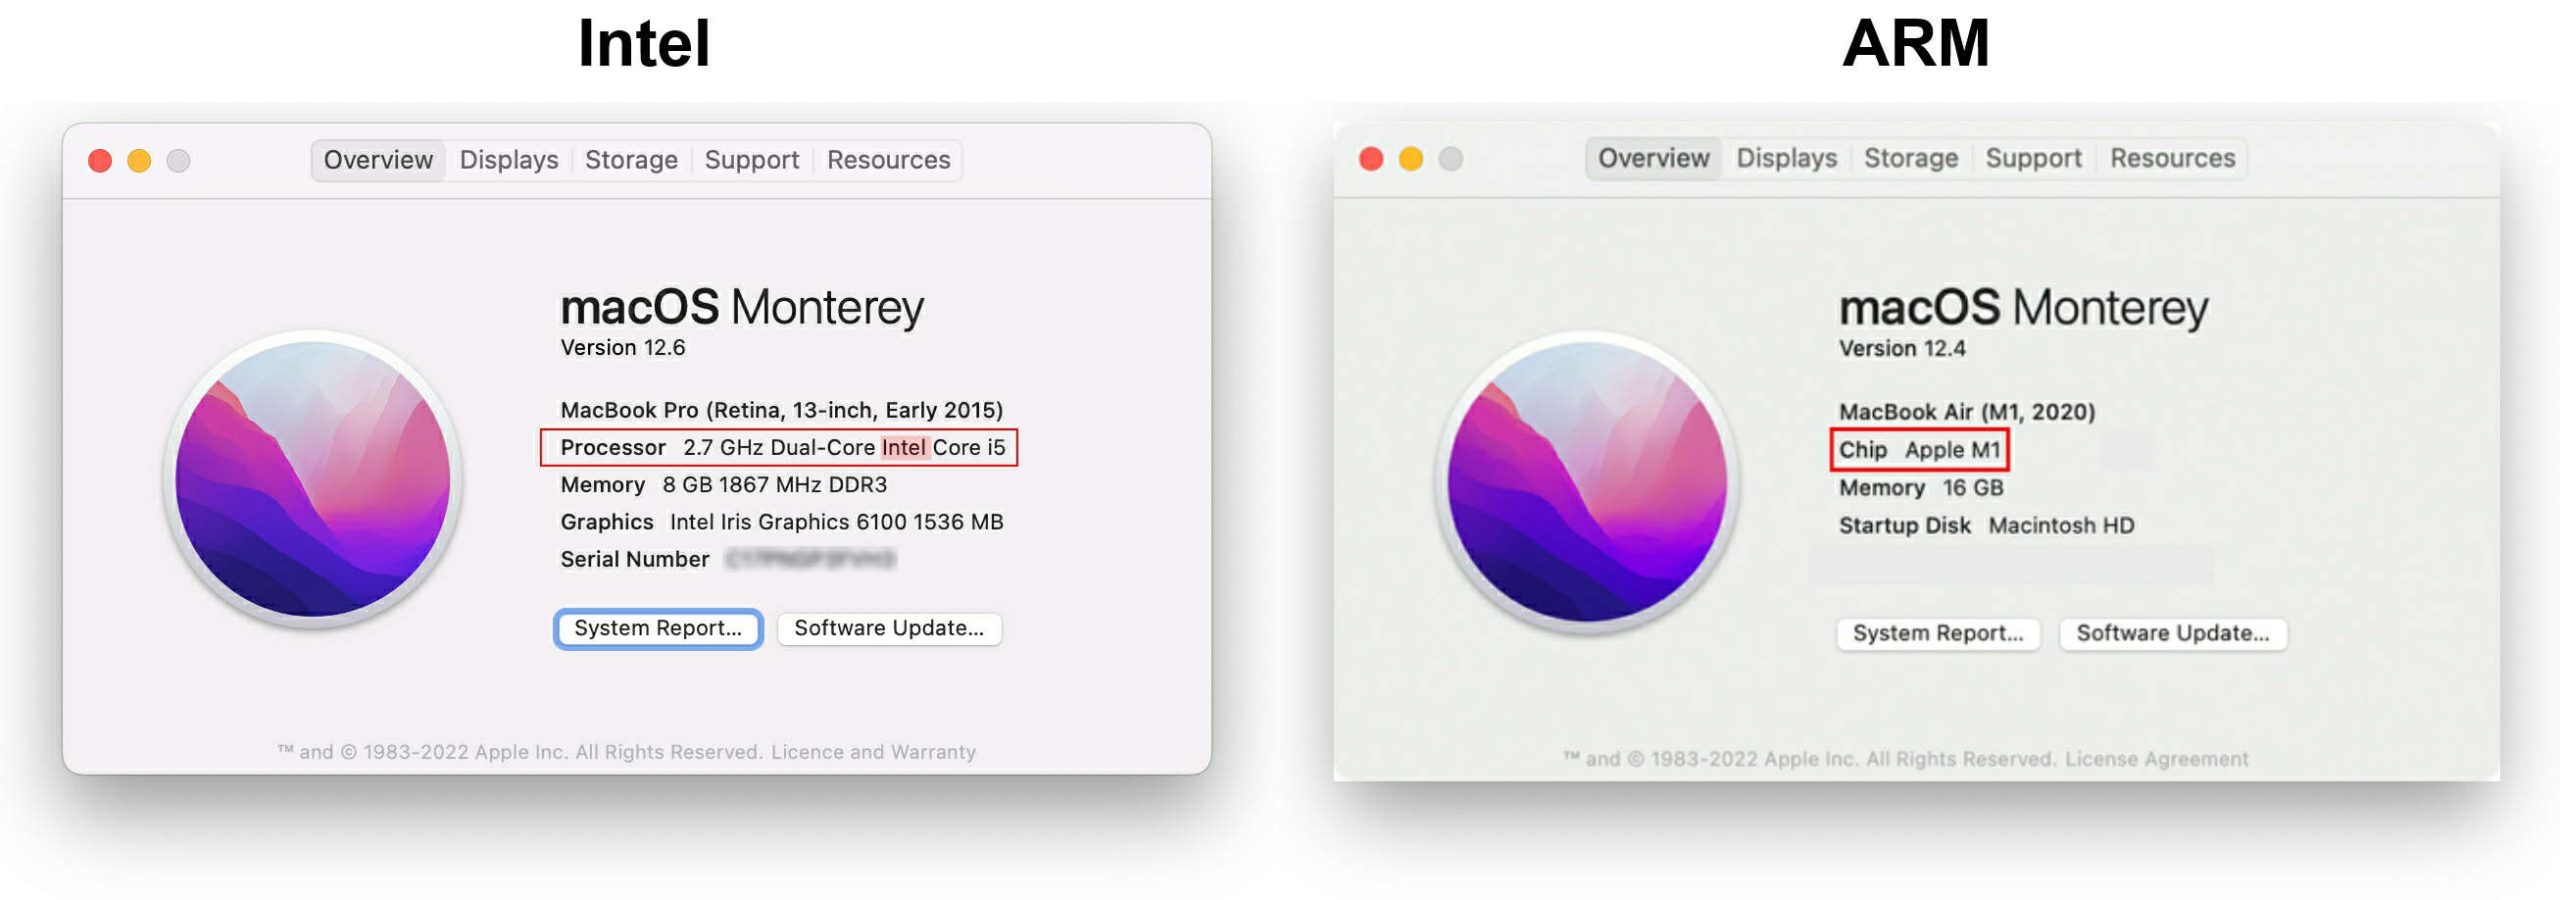
Watch the detailed walkthrough below for instructions on installing the .pkg file and adding the printer via USB or LAN.
Video Chapters:
00:15 Identifying your processor type
00:55 Downloading the driver
02:18 Installing the driver
04:08 Adding printer & test page (USB)
05:16 Accessing CUPS Admin page
07:00 Enabling CUPS via Terminal
08:00 Setting default printing options
10:04 Adding printer & test page (LAN)
Important: Enabling the CUPS Web Interface
macOS 27 (Golden Gate) & Newer: Apple has completely removed support for the CUPS web interface.
The traditional method of enabling it via Terminal using cupsctl WebInterface=yes no longer works, and navigating to http://localhost:631 will fail. Because the web GUI has been fully deprecated, you must now manage your printers, print queues, and defaults using native macOS command-line tools like lpadmin, lpoptions, and lpstat.
For macOS 14 through macOS 26 (Tahoe), macOS disables the CUPS web administration interface by default. As shown at 07:00 in the video, open the Terminal application and run this exact command to enable it:
cupsctl WebInterface=yes
Once enabled on these older operating systems, you can safely navigate to http://localhost:631/printers in your browser to configure your Magicard hardware.
Mac and macOS are trademarks of Apple Inc., registered in the U.S. and other countries and regions.
✨ New Features & Models
CD-310 New Model Bodno 400X
CD-314 New Model Bodno 250X
CD-317 New Model Fagoo P380e
CD-318 New Model Authentys 600
🐛 Bug Fixes & Improvements
CD-315 Extended card printing does not work for Magicard E+ and Magicard E+ NEO
The Magicard macOS Driver works for all Magicard printers with the exception of the Prima series.
Supported printer models in V1.5.0 (28 August 2026):