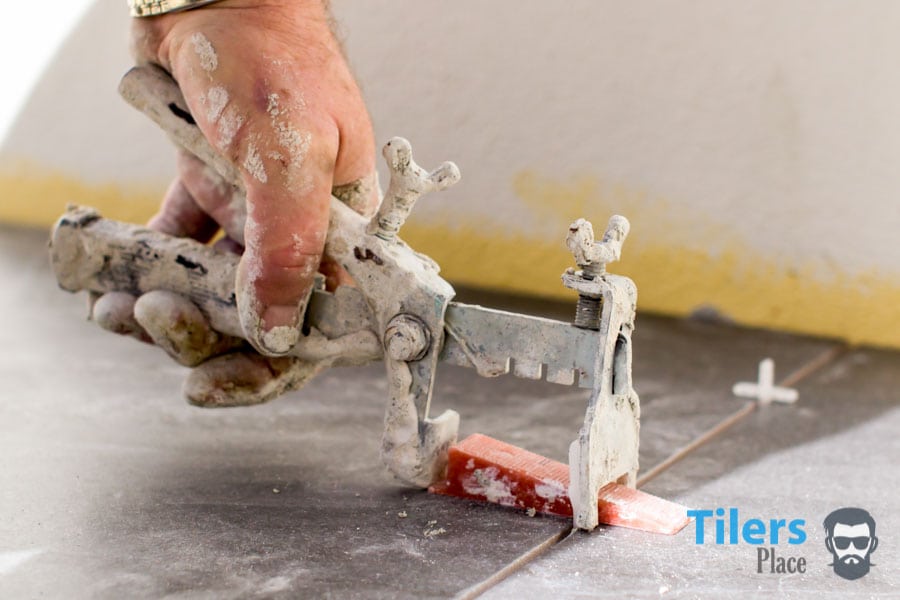
Many individuals delight in doing their house enhancement tasks. The popularity of "do-it-yourself" TV programs will vouch for that. Some jobs are reasonably straightforward to do, even for the unskilled. In this write-up, we'll make use of laying a ceramic tile flooring as an example. Tiler leveling system is the best and the easiest to learn how to lay tiles.
Ceramic tile floorings are sturdy as well as attractive and also add worth to your home. Ceramic tile floors are particularly suitable for cooking areas, baths, and entranceways as they are easy to tidy.
The very first step in beginning your ceramic tile task is to choose your tile. Choosing which ceramic tile you like best will probably be one of the most challenging components of the job. Other products you will undoubtedly require are floor tile glue, grout, tile spacers, and preparation items if needed. Speak to the sales connect at the shop where you buy your ceramic tile. He will undoubtedly be an excellent resource of details on exactly how to lay ceramic tile.
Next, gather all the tools needed before you start. The task will go much faster and smoother if you have all your devices handy. Some tools you will require are a tidy container and also sponge, pencil, tape action, steel policy, level, sticky spreader, and even ceramic tile cutter.
One vital lesson on how to lay ceramic tile is appropriate surface preparation. The ended up the surface of your ceramic tile flooring will look like the surface area beneath it. After taking up the existing floor tile, ensure all the old adhesive has been removed, and any damages to the surface area repaired. If you are laying brand-new floor tile over existing floor tile make sure the old surface is tidy before laying the new tile level the floor.
Next, you need to discover your starting factor. With a chalk line, mark a line perpendicular to the entrance of the area. Beginning from the entryway, lay a row of floor tile without glue along the chalk line. Be sure to use spacers to preserve a consistent range between the tiles. Remain to the opposite side of the room until there is insufficient space for a full floor tile. Lay a long, one-inch thick board perpendicular to the row of ceramic tiles and afterward lay tiles alongside the board in both instructions across space. The action space left along the sides of the area as well as choose precisely how far to move the rows, so the verge on both sides of the city are equal. Using this measurement, snap an additional chalk line. The starting factor will undoubtedly be the intersection of the 2nd line as well as the board.
Now you prepare to lay the tile. From the beginning corner job in locations 2-foot square. Spread adhesive on the surface. Function the floor tile right into the glue and also area spacers in between them to maintain the tiles evenly spaced as the tile is laid area a level on it. If the ceramic tile faces are not flush, utilize a rubber club to delicately tap them right into the area. Continue in this manner to and fro throughout the space. When all the complete tiles have been laid, let the sticky dry overnight. The next day you will have the ability to carefully stroll on the floor tile to reduce and also lay the boundaries.
To gauge the boundary lay a loose ceramic tile over the last complete tile. Place the half-inch spacer against the wall surface. Lay an additional entire floor tile against the spacer and even with the edges of the very first time. Mark a line throughout the first tile and this is your cutting line.
The easiest way to cut tile is with a floor tile cutter. If you do not have one, a glass cutter will indeed also function. When making use of a glass cutter, placed a straight edge on the tile and even score it when with the glass cutter. After that lay the ceramic tile on the side of a table or workbench and also break it off. For more difficult cuts you might need to utilize a tile saw or ceramic tile nippers.
After the ceramic tiles are laid and the adhesive has set it is time to go on to grouting. Cement is the material that fills out the areas between the tiles. Mix the grout and also utilize a rubber float to apply it; working at a forty-five level angle. Ensure the cement gets involved in all the spaces. Use a sponge to clean off the excess cement from the floor tile, yet be cautious not to dig it out of the areas as you wipe. After the cement has set you can clean off any staying deposit. You must dry the flooring every day for the first three days to assist the cement cure to a stable, resilient surface after the grout has treated for a week brush on a silicone sealant. You are now prepared to enjoy your brand-new ceramic tile flooring and also the feeling of satisfaction that comes from doing it on your own. If you want to learn more techniques, please visit Tilersplace for more details.