
Making your own organic natural lip balm isn't just a fun project; it's a way to guarantee you're using safe, nourishing ingredients on your lips.
You'll find that with just a few simple components, you can create a product tailored to your preferences.
Ready to learn about the essential ingredients and the steps involved? Let's explore how to get started on this rewarding endeavor.
When crafting your own lip balm, selecting the right natural ingredients is essential for achieving smooth, nourishing results. Start with a base like beeswax or candelilla wax, which provides structure and firmness.
Next, choose carrier oils such as coconut or jojoba oil for hydration. Add a nourishing butter like shea or cocoa to enhance moisture and softness. Don't forget to incorporate essential oils for fragrance and added benefits; peppermint or lavender can invigorate or soothe, respectively.
Finally, consider natural colorants, like beetroot powder, to give your balm a personal touch. Your choices will make a difference in your lip balm's quality!
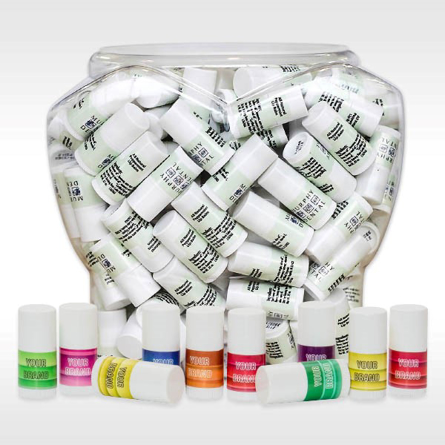
To make lip balm at home, you'll need a few essential supplies that streamline the process and guarantee great results. Start with a double boiler or a microwave-safe container for melting your ingredients.
Grab a mixing spoon for blending and a small funnel for pouring. You'll also need lip balm containers-tubes or tins work well. Don't forget your chosen natural ingredients, like beeswax, oils, and any flavoring or color you'd like.
Finally, have a thermometer handy to monitor temperatures. With these supplies, you're ready to create your custom lip balm that's both nourishing and fun to make!
Now that you've gathered all your supplies, it's time to start making your lip balm. Begin by melting your beeswax, shea butter, and coconut oil together in a double boiler.
Stir occasionally until everything's fully melted and blended. Once melted, remove the mixture from heat and let it cool slightly. Pour the liquid into your chosen containers, ensuring you leave a little space at the top.
Allow the lip balm to set for a few hours until it hardens completely. Once firm, your homemade lip balm is ready to use! Enjoy the nourishing benefits of your natural creation.
While your lip balm mixture cools, you can enhance it by adding scents and colors to suit your preferences. For scents, consider essential oils like peppermint, lavender, or orange-just a few drops will do.
Test the fragrance strength before adding more. For color, you can use natural options like beetroot powder for a rosy tint or cocoa powder for a chocolate hue.
Blend these ingredients thoroughly into your mixture. Remember, a little goes a long way, so start small and adjust as needed. This personal touch makes your lip balm uniquely yours and can elevate your overall experience!

Once you've added your favorite scents and colors, it's important to focus on how to store your lip balm properly to keep it fresh and effective. First, choose a cool, dry place away from direct sunlight and heat.
This helps prevent melting and maintains the integrity of your ingredients. Consider using small, airtight containers or tubes to keep moisture and air out.
If you've made a larger batch, refrigerate it to extend its shelf life. Remember to check for any changes in texture or smell before using. Proper storage guarantees your homemade lip balm stays nourishing for longer!
If you find your homemade lip balm isn't turning out as expected, don't worry-many common issues are easy to fix. If your balm's too hard, try adding more oil or a bit of beeswax.
For a too-soft consistency, increase the wax. If it's gritty, make sure your ingredients are fully melted and well combined. A grainy texture can also result from cooling too quickly; use a slow, gentle cooling method.
Finally, if your balm smells off, check the freshness of your ingredients. With these simple adjustments, you'll have a perfect lip balm that's just right for your needs.

Yes, natural lip balms can expire or lose effectiveness over time. Factors like exposure to air, heat, and light can degrade their ingredients. Youll notice changes in texture, smell, or color, indicating they might not work as well. It�s best to check expiration dates and store them in a cool, dark place. If you�re unsure, it�s safer to toss them and get a fresh one to keep your lips moisturized and protected.
Yes, you can definitely use essential oils in your lip balm! They not only add delightful scents but also provide various benefits for your lips. Just remember to use them sparingly, as they can be quite potent. A few drops of your favorite essential oil will do the trick. Always do a patch test first to guarantee you don�t have any sensitivities. Enjoy customizing your lip balm with natural aromas!
Yes, you can use natural lip balm on your skin or other areas! Many natural lip balms contain nourishing ingredients like shea butter and coconut oil, which are great for hydrating dry patches. Just make sure the balm doesn�t contain any additives that might irritate your skin. Apply it to areas like your elbows, cuticles, or even cheeks for extra moisture and protection. Your skin will appreciate the extra care!