Part 1: Initializing the Project
Learn the basics of Gradle by creating a Java app using Gradle init.
Step 0. Before you Begin
-
Make sure you have Gradle installed.
-
Install IntelliJ IDEA.
The Community Edition is a free version of IntelliJ IDEA.
Step 1. Initializing the Project
To test the Gradle installation, run Gradle from the command-line:
$ gradle

Welcome to Gradle 8.2.

Directory '/' does not contain a Gradle build.

To create a new build in this directory, run gradle init
If Gradle is not installed, please refer to the installation section.
Create a new directory called tutorial and cd into it:
$ mkdir tutorial
$ cd tutorial
Run gradle init and continue with the prompt as indicated below:
$ gradle init

Select type of project to generate:
  1: basic
  2: application
  3: library
  4: Gradle plugin
Enter selection (default: basic) [1..4] 2

Select implementation language:
  1: C++
  2: Groovy
  3: Java
  4: Kotlin
  5: Scala
  6: Swift
Enter selection (default: Java) [1..6] 3

Generate multiple subprojects for application? (default: no) [yes, no] no
Select build script DSL:
  1: Kotlin
  2: Groovy
Enter selection (default: Kotlin) [1..2] 1

Select test framework:
  1: JUnit 4
  2: TestNG
  3: Spock
  4: JUnit Jupiter
Enter selection (default: JUnit Jupiter) [1..4] 4

Project name (default: tutorial): tutorial
Source package (default: tutorial): com.gradle.tutorial
Enter target version of Java (min. 7) (default: 17): 17
Generate build using new APIs and behavior (some features may change in the next minor release)? (default: no) [yes, no] no| In this tutorial, Kotlin DSL is used to build a simple Java project (as it is the default DSL starting in Gradle 8.2). All examples are macOS based. |
When you are done, the directory should look as follows:
├── .gradle             (1)
│   └── ⋮
├── gradle              (2)
│   └── wrapper
├── gradlew             (3)
├── gradlew.bat         (4)
├── settings.gradle.kts (5)
├── app                 (6)
│   ├── build.gradle.kts
│   └── src
└── ⋮                   (7)
| 1 | Project-specific cache directory generated by Gradle |
| 2 | Contains the JAR file and configuration of the Gradle Wrapper |
| 3 | macOS and Linux script for executing builds using the Gradle Wrapper |
| 4 | Windows script for executing builds using the Gradle Wrapper |
| 5 | The project’s settings file where the list of subprojects is defined |
| 6 | The source code and build configuration for the Java app |
| 7 | Some additional Git files may be present such as .gitignore |
Step 3. Understanding the Gradle Wrapper
The Gradle Wrapper is the preferred way of starting a Gradle build. The Wrapper downloads (if needed) and then invokes a specific version of Gradle declared in the build.
In your newly created project, take a look at the files used by the Gradle Wrapper first. It consists of a batch script for Windows and a shell script for macOS and Linux .
These scripts allow you to run a Gradle build without requiring that Gradle be installed on your system. It also helps ensure that the same version of Gradle is used for builds by different developers and between local and CI machines.
From now on, you will never invoke Gradle directly; instead, you will use the Gradle wrapper.
Step 4. Invoking the Gradle Wrapper
Use the wrapper by entering the following command:
$ ./gradlew buildIn Windows, the command is:
$ gradlew.bat buildThe first time you run the wrapper, it downloads and caches the Gradle binaries if they are not already installed on your machine.
The Gradle Wrapper is designed to be committed to source control so that anyone can build the project without having to first install and configure a specific version of Gradle.
In this case, we invoked Gradle through the wrapper to build our project, so we can see that the app directory now includes a new build folder:
$ cd app
$ ls -al

drwxr-xr-x  10 gradle-user  staff  320 May 24 18:07 build
-rw-r--r--   1 gradle-user  staff  862 May 24 17:45 build.gradle.kts
drwxr-xr-x   4 gradle-user  staff  128 May 24 17:45 src
All the files generated by the build process go into the build directory unless otherwise specified.
Step 5. Viewing Gradle files in an IDE
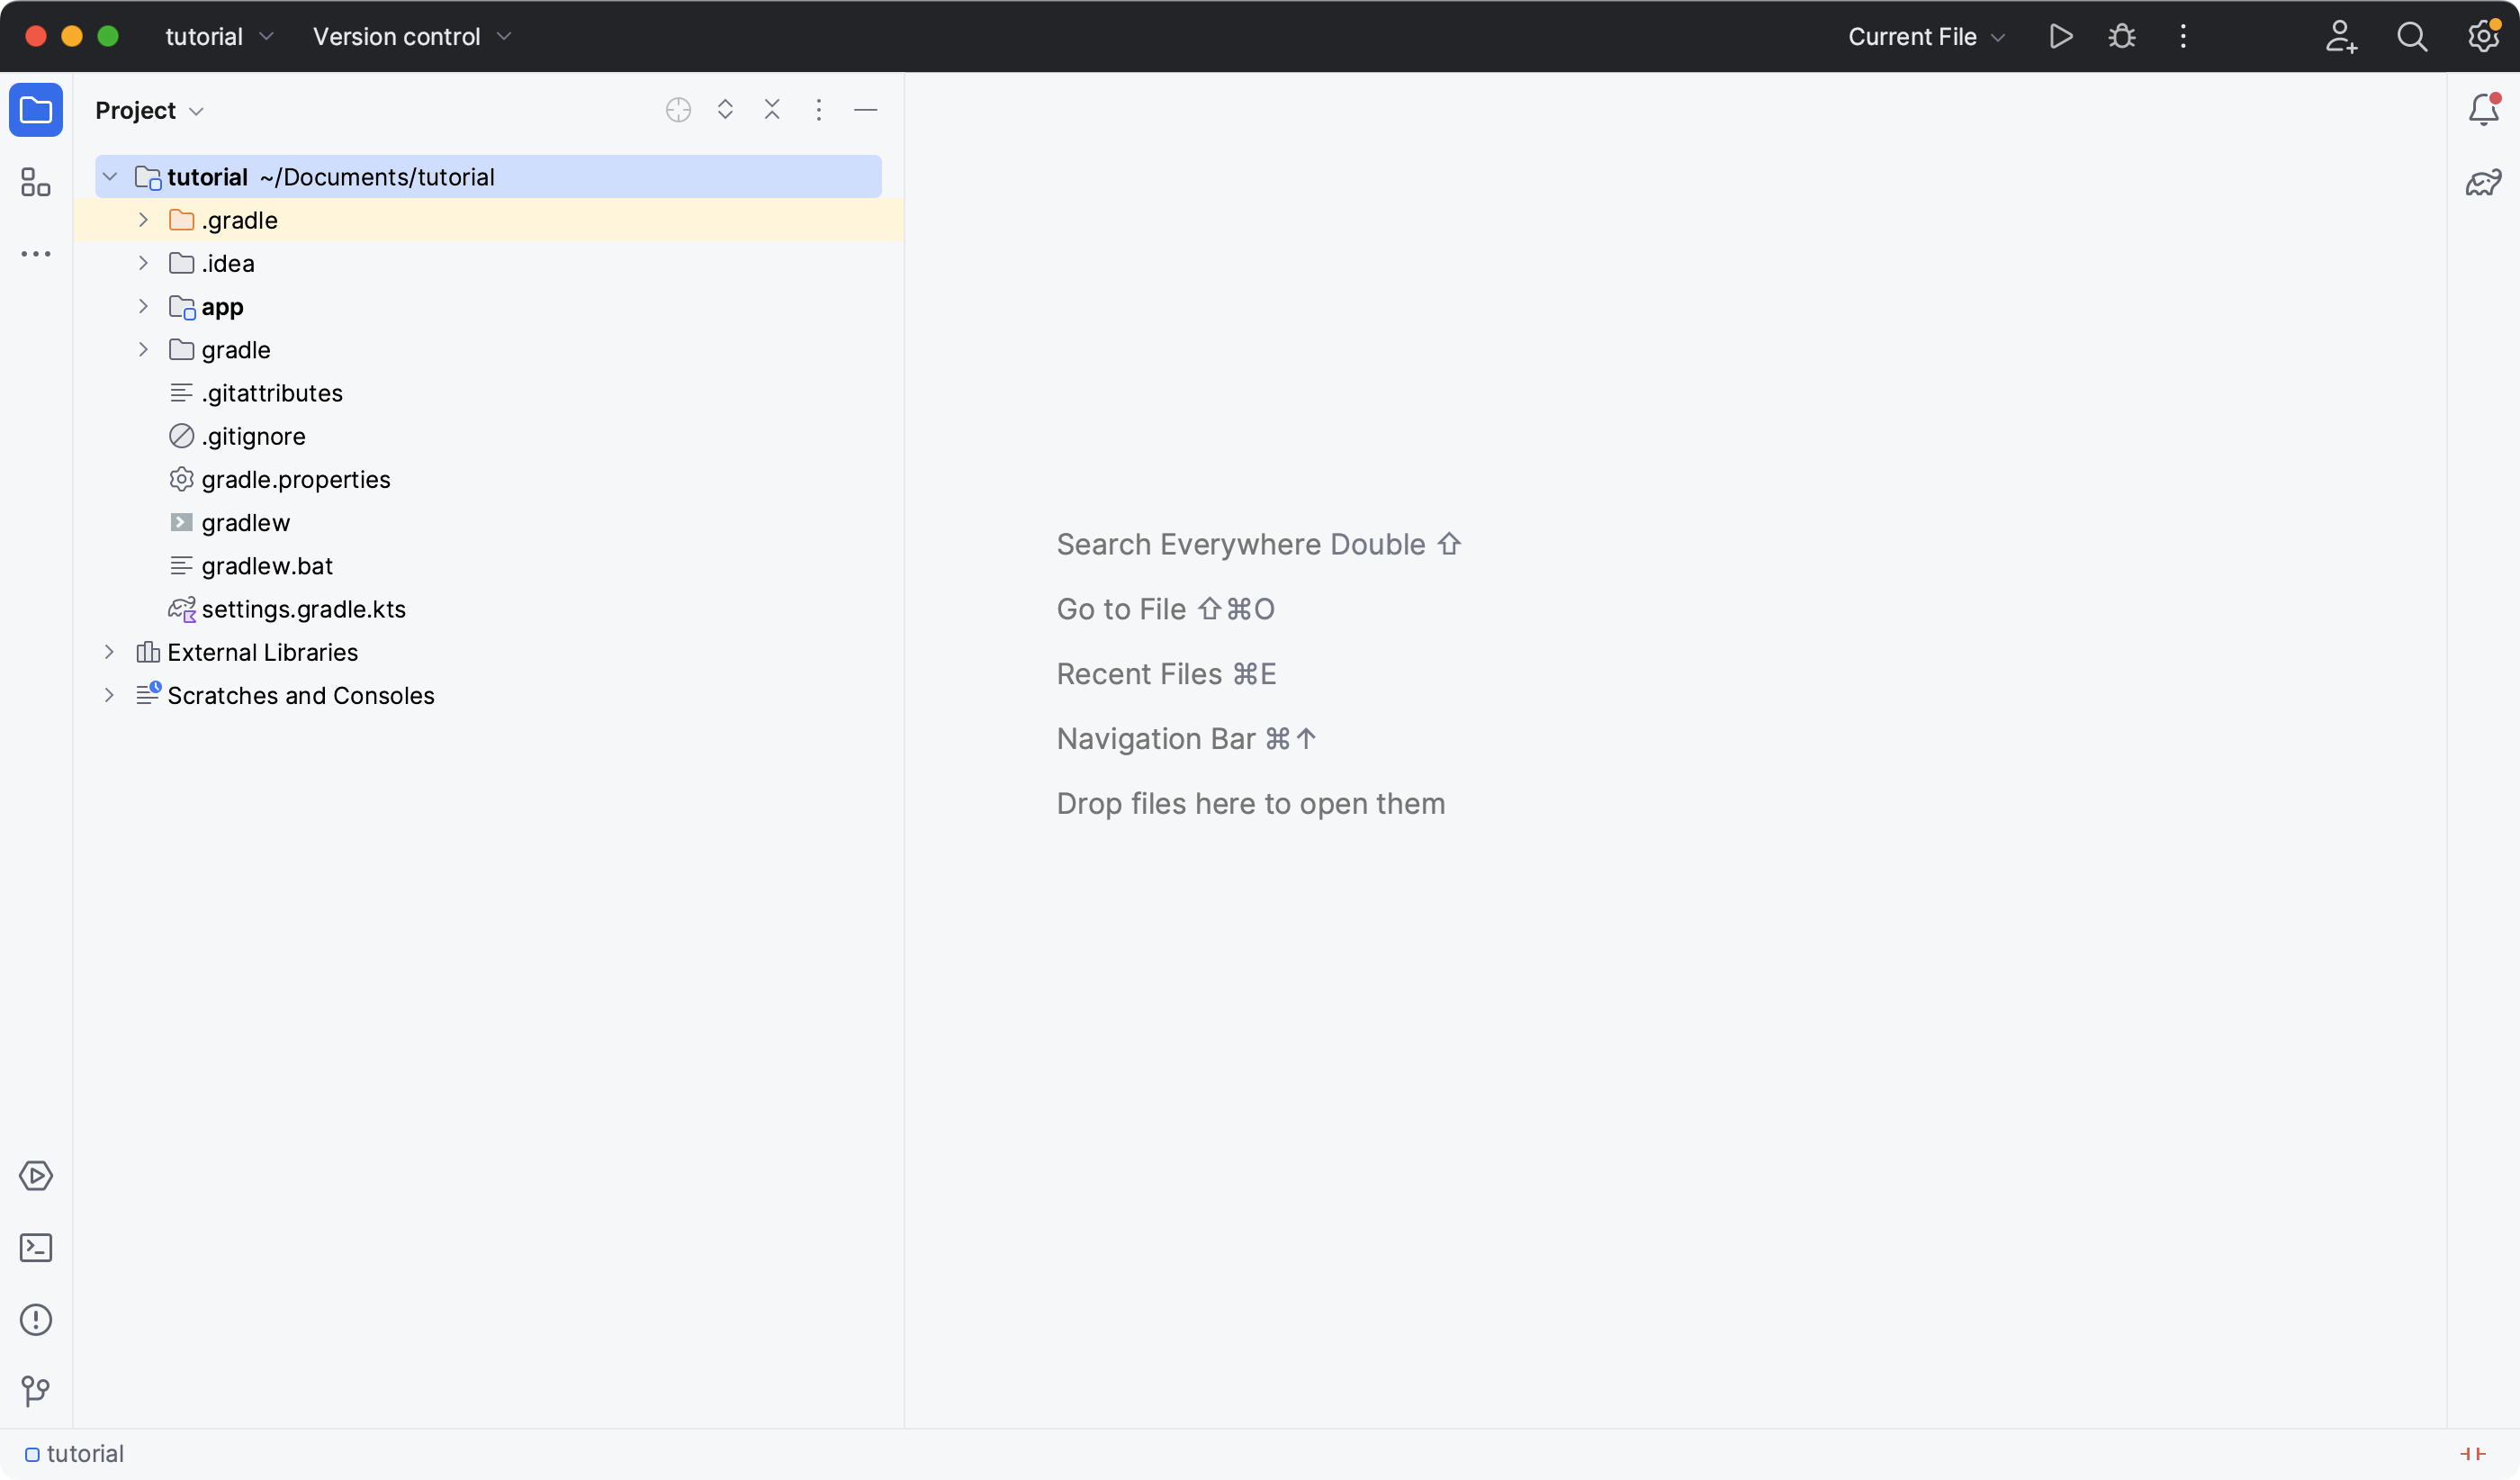
Open the project in IntelliJ IDEA by double-clicking on the settings.gradle.kts file in the tutorial directory:
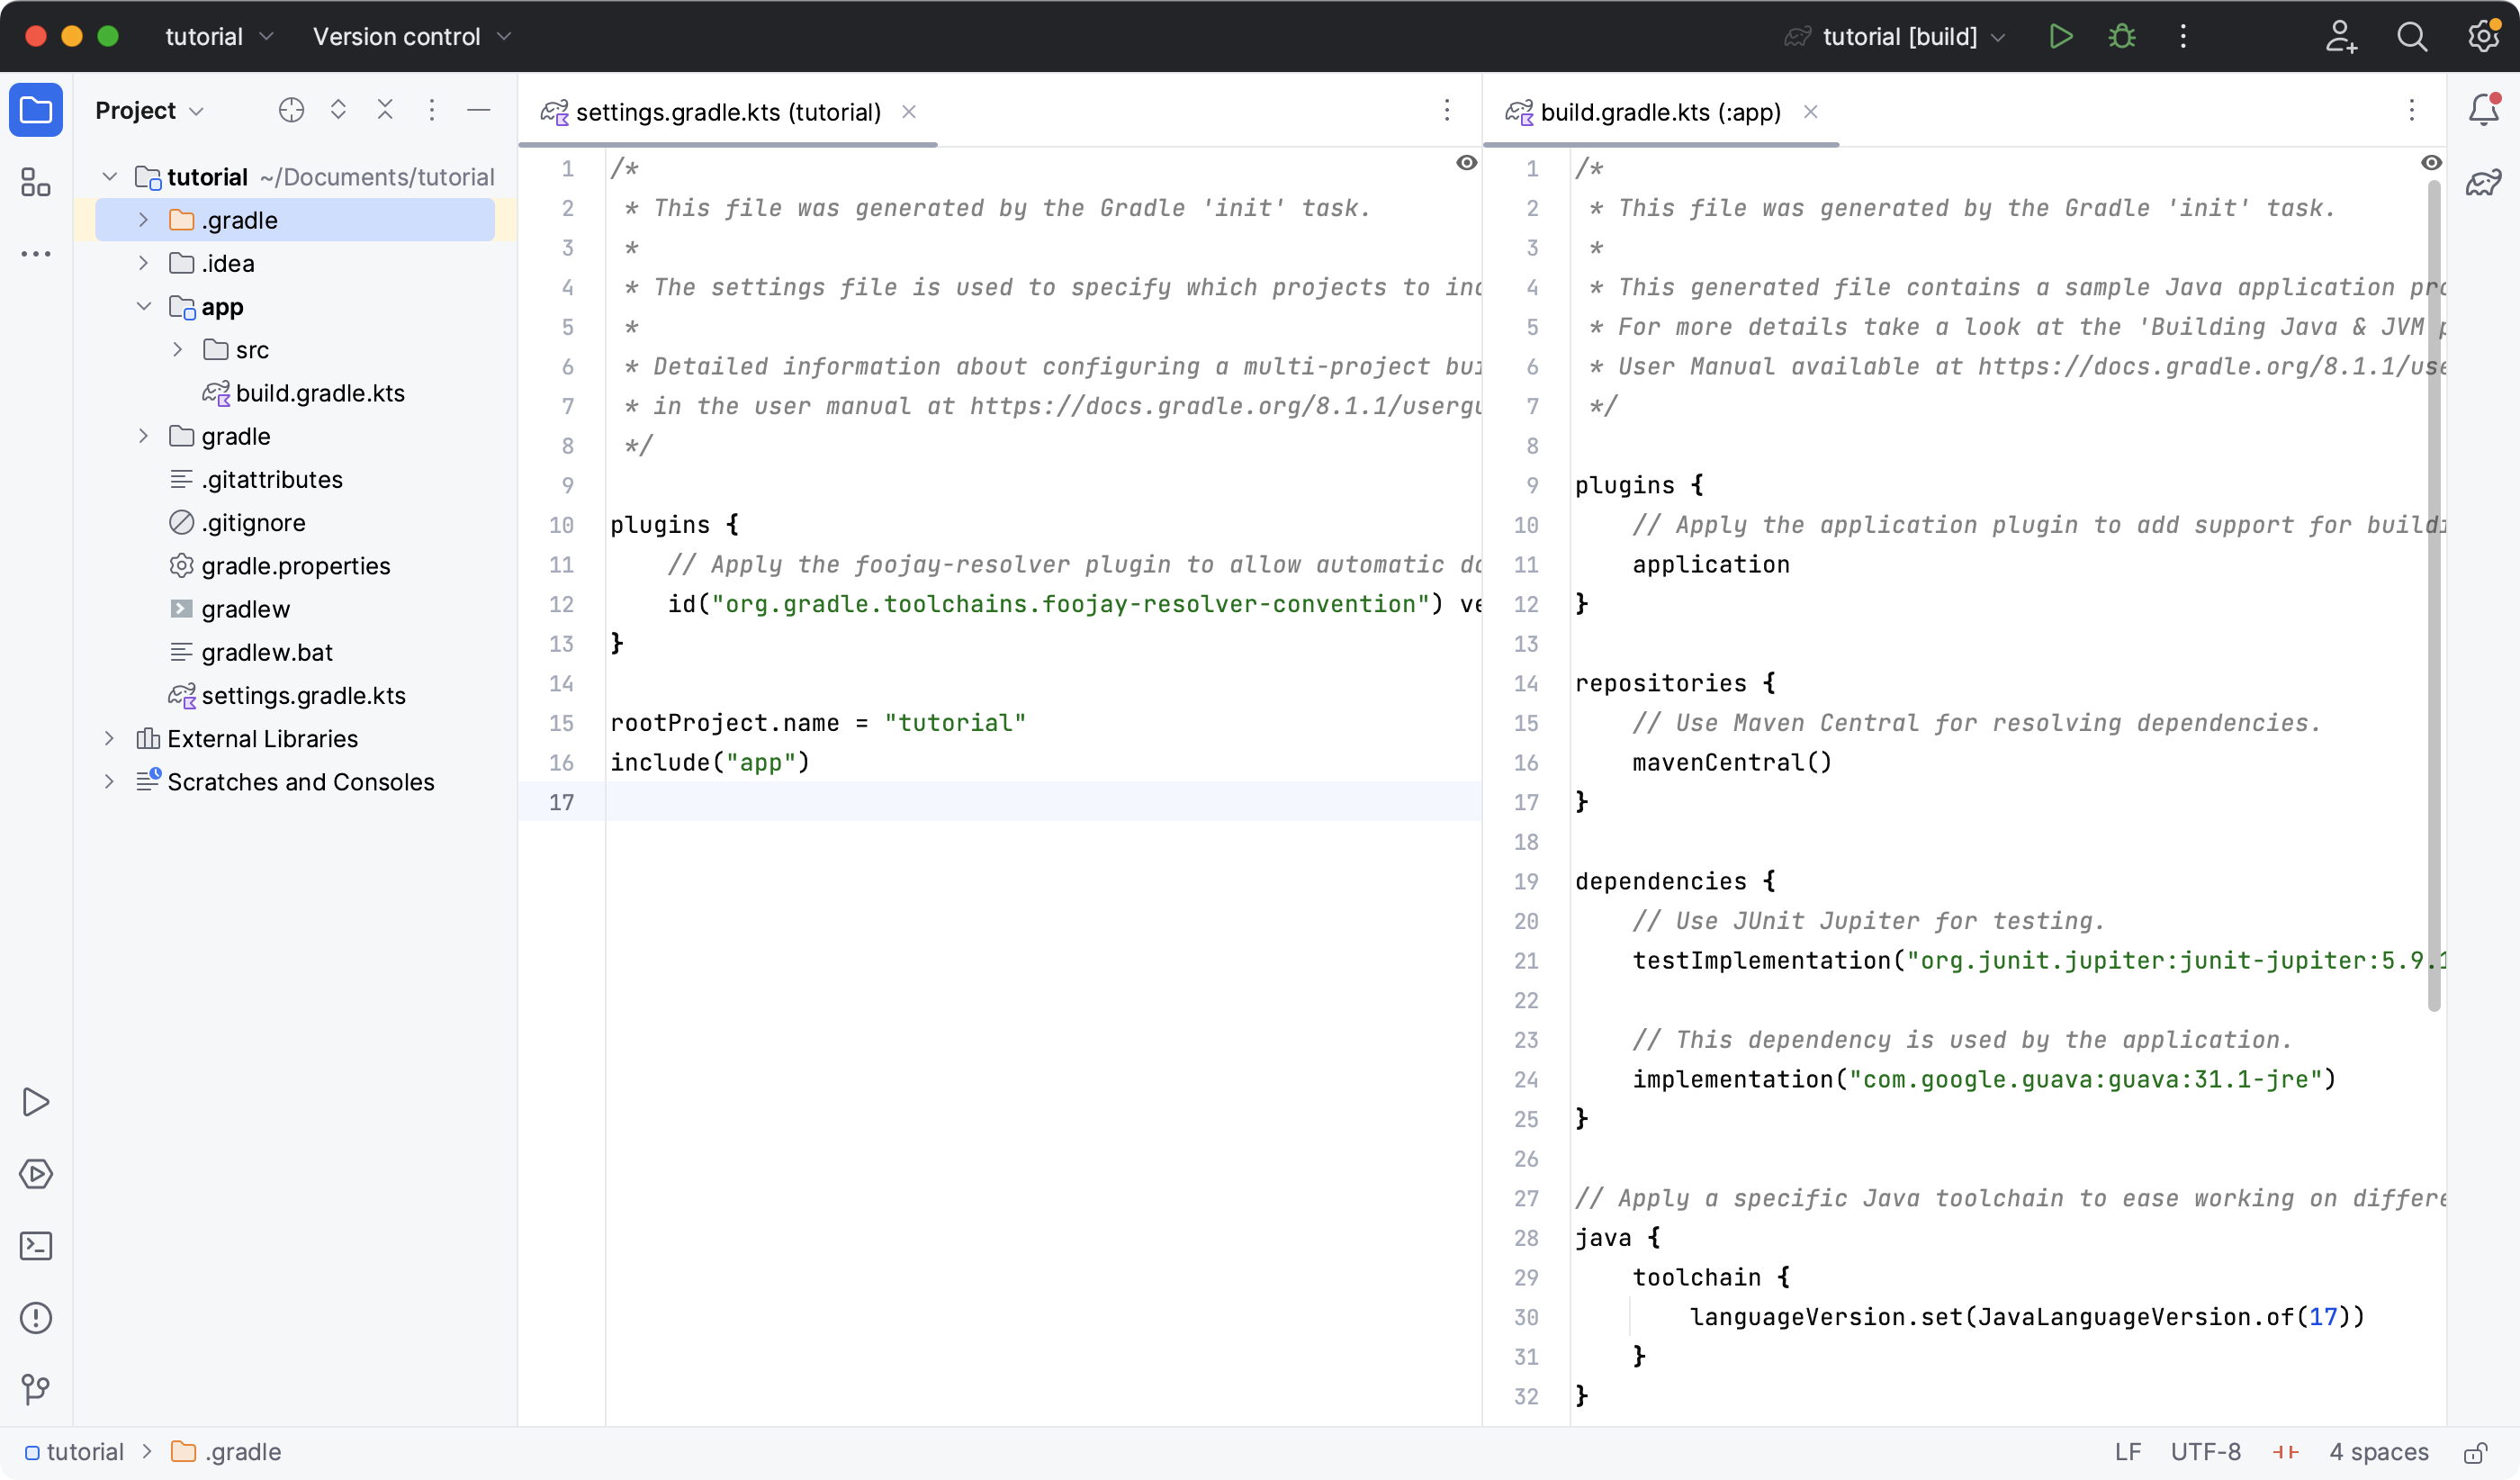
Open the settings.gradle.kts and build.gradle.kts files in the IDE:
Step 6. Understanding the Settings file
A project is composed of one or more subprojects (sometimes referred to as modules).
Gradle reads the settings.gradle.kts file to figure out which subprojects comprise a project build.
Take a look at the file in your project:
plugins {
    // Apply the foojay-resolver plugin to allow automatic download of JDKs
    id("org.gradle.toolchains.foojay-resolver-convention") version "0.4.0"
}

rootProject.name = "tutorial"
include("app")
The tutorial project includes the app subproject.
The presence of the include call turns the app directory into a subproject.
Step 7. Understanding the Build script
Each subproject contains its own build.gradle.kts file.
The build.gradle.kts file is the core component of the build process and defines the tasks necessary to build the project.
The build.gradle.kts file is read and executed by Gradle.
Take a closer look at the build file in your app subproject (under the app directory):
plugins {
    // Apply the application plugin to add support for building a CLI application in Java.
    application
}

repositories {
    // Use Maven Central for resolving dependencies.
    mavenCentral()
}

dependencies {
    // Use JUnit Jupiter for testing.
    testImplementation("org.junit.jupiter:junit-jupiter:5.9.1")

    // This dependency is used by the application.
    implementation("com.google.guava:guava:31.1-jre")
}

// Apply a specific Java toolchain to ease working on different environments.
java {
    toolchain {
        languageVersion.set(JavaLanguageVersion.of(17))
    }
}

application {
    // Define the main class for the application.
    mainClass.set("com.gradle.tutorial.App")
}

tasks.named<Test>("test") {
    // Use JUnit Platform for unit tests.
    useJUnitPlatform()
}
This build script lets Gradle know which dependencies and plugins the app subproject is using and where to find them.
We will look at this in more detail in the following sections.
Next Step: Running Tasks >>