Router Port Forwarding Setup
Router port forwarding is a critical concept in networking that allows a computer on your home network to communicate with the internet. It does this by forwarding specific internet traffic to a computer on your network. In this section, we will discuss how to set up the router port forwarding to enable communication to your computer.
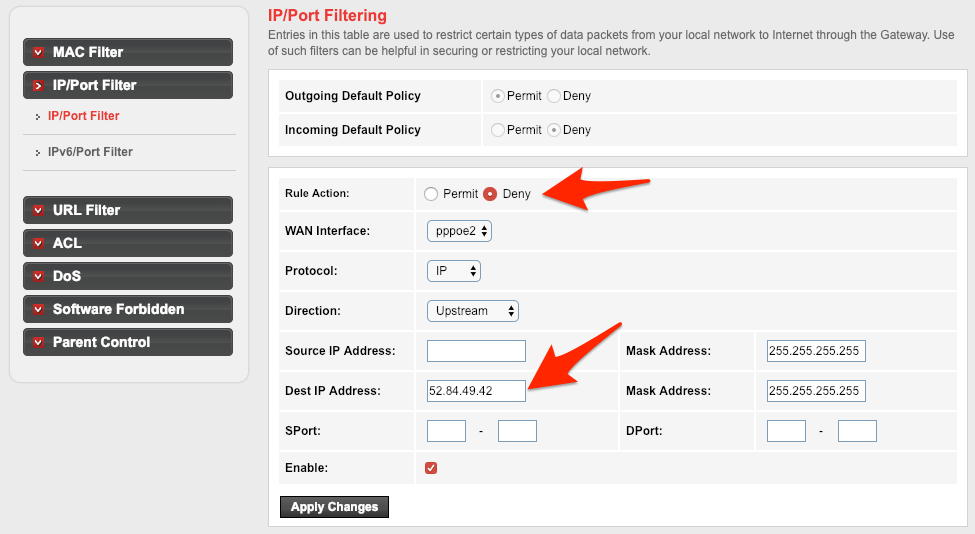
The first step in setting up router port forwarding is to log in to your router's control panel. The router's control panel is where you can configure the router's settings, including port forwarding. You can access the control panel by typing the router's IP address into a web browser.
Next, identify the internal IP address of the computer that you want to receive the internet traffic you’re forwarding. Then, navigate to the router's port forwarding settings area and find a place to create a new forwarding rule. Here you can specify the internal IP address of the computer and the external port number you want to use.
It's also important to remember to choose the appropriate protocol for the rule. If it is a TCP connection, you should select "TCP." If it is a UDP connection, you should select "UDP."
After all settings have been made, save the changes to make them effective. Verify if the port forwarding is working correctly by testing the connection to the specified port. This can be done using online tools that will scan the external port and attempt to connect to the computer on your network.
In conclusion, router port forwarding setup is essential for communicating with the internet. It may be a bit technical, but once you understand it, the steps involved are relatively simple. Ensure compatibility between protocols, specify the correct port, IP address, and save the changes after setting everything up to establish a successful connection.