Mini-Split Installation: Heads, Line Sets, and Siting
Getting a ductless mini-split installed well is most of the battle. What separates a system that performs quietly for decades from one that causes problems in the first year is largely how carefully the installer sites the units, routes the line set, and commissions the refrigerant circuit. Here's what the process actually involves.
Siting the Outdoor Unit
The condenser unit needs thoughtful placement before anything else is decided. It requires clearance on all sides for airflow, with significantly more open space in front of where it exhausts. Tucking one into a corner alcove or tight against a fence forces it to work harder and wear faster.
In the Pacific Northwest, the bigger concerns are drainage and debris. Condensate water drips from the unit during heating cycles, so it needs to sit on a pad that slopes gently away from the house and won't collect standing water. Mossy concrete, common on older Portland lots, can become uneven — a purpose-built bracket mount or fresh pad is worth doing right. Units near heavy leaf fall or Douglas fir overhang will need more frequent cleaning.
Noise matters more than many homeowners expect. The condenser isn't loud, but it runs for long stretches during shoulder-season weather. Site it near the mechanical side of the house rather than outside a bedroom window or along a neighbor's fence. Keep it away from dryer vents and fireplace or kitchen exhaust. Shading from summer sun rarely matters in the PNW, and excess shade that promotes ice buildup in winter is mildly counterproductive.
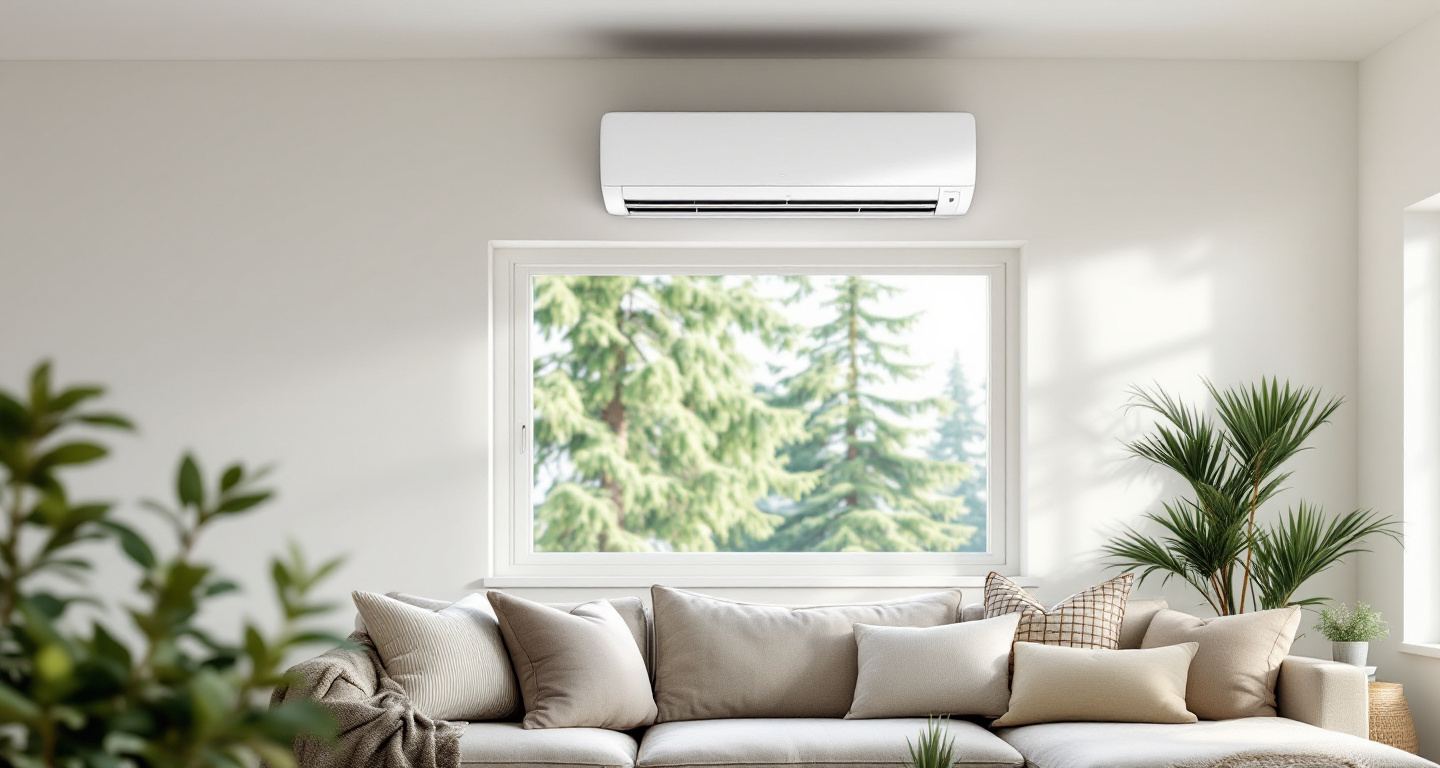
Placing Indoor Heads
Wall-mounted heads go high on the interior wall, near the ceiling, so they distribute conditioned air across the whole room rather than one corner. Exact placement depends on room geometry and where the line set can exit through the wall with the shortest practical run.
Older Portland homes introduce complications. Plaster-and-lathe walls, masonry chimneys on exterior walls, and houses without a consistent top plate all make clean routing harder. A good installer walks the rooms with you before quoting. In an open-plan space, one head can often cover the whole floor; in a craftsman or colonial layout with separated rooms, you'll generally need a head per room.
The head must be level. A unit that's even slightly off will drain condensate incorrectly, and you'll eventually see a water stain developing on the wall below it — usually months after installation. Oregon homeowners can review current efficiency incentives at https://www.energytrust.org/residential/incentives/.
Running the Line Set and Condensate Drain
The line set is the bundle — refrigerant tubing, condensate drain line, and control wiring — that connects the indoor head to the outdoor condenser. On new construction it disappears inside the wall. On an existing home it's almost always surface-mounted in a protective chase on the exterior.
Quality work means the chase follows the roofline or corner trim rather than cutting diagonally across siding, and is painted to blend in. On cedar-sided bungalows or homes with trim detailing, this takes more care than on plain stucco — ask to see photos of the installer's past work on older homes.
The condensate drain line must slope continuously downward from the head to its exit point. Any trap in the line means water backs up and eventually overflows from the unit. Refrigerant lines should never be kinked or bent sharply — the soft copper tubing can be damaged during rough routing, and the problem may not appear immediately but will eventually mean a leak and a service call.
Electrical, Evacuation, and Commissioning
Mini-splits run on a dedicated circuit, usually a double-pole breaker in the main panel. In Oregon this must be done by a licensed electrician or a contractor who carries electrical licensing — a requirement that also ties into permit eligibility.
The most important step is one most homeowners never think to ask about: evacuation. Before refrigerant is introduced, the technician connects a vacuum pump to the line set and holds it at very low pressure long enough to confirm there are no leaks and to drive out moisture. A system charged without proper evacuation will have moisture in the refrigerant circuit, which causes corrosion and premature compressor failure. Ask your installer what vacuum level they pull to and how long they hold it — the answer tells you a great deal about how they work. After evacuation, the factory-supplied charge in the condenser is released into the system. If the line set exceeds the factory-calculated length, additional refrigerant is added and verified against superheat and subcooling readings at startup.
Permits, Inspections, and Signs of a Good Install
Oregon requires permits for mini-split installation covering both the mechanical and electrical work. Some contractors offer to skip this to come in cheaper. The risk isn't primarily about getting caught — unpermitted work creates problems at resale and leaves you with no recourse if the installation is poor.
A quality install looks clean. The chase runs parallel to trim lines. The outdoor unit is level, on a stable pad or bracket, with a visible disconnect nearby. The indoor head is level and mounted into studs or proper backing. There are no visible kinks in the line set where it exits the wall.
Commissioning ends with the technician running both heating and cooling modes and confirming measured performance before leaving. If they're packing up before turning the system on, that's a reason to ask questions.